My custom, cost-effective DIY Network Rack build 🔧
Having recently outgrown the small network cabinet that was installed when our house was built, I have been storing all of my network equipment on a shelf in the spare bedroom wardrobe.
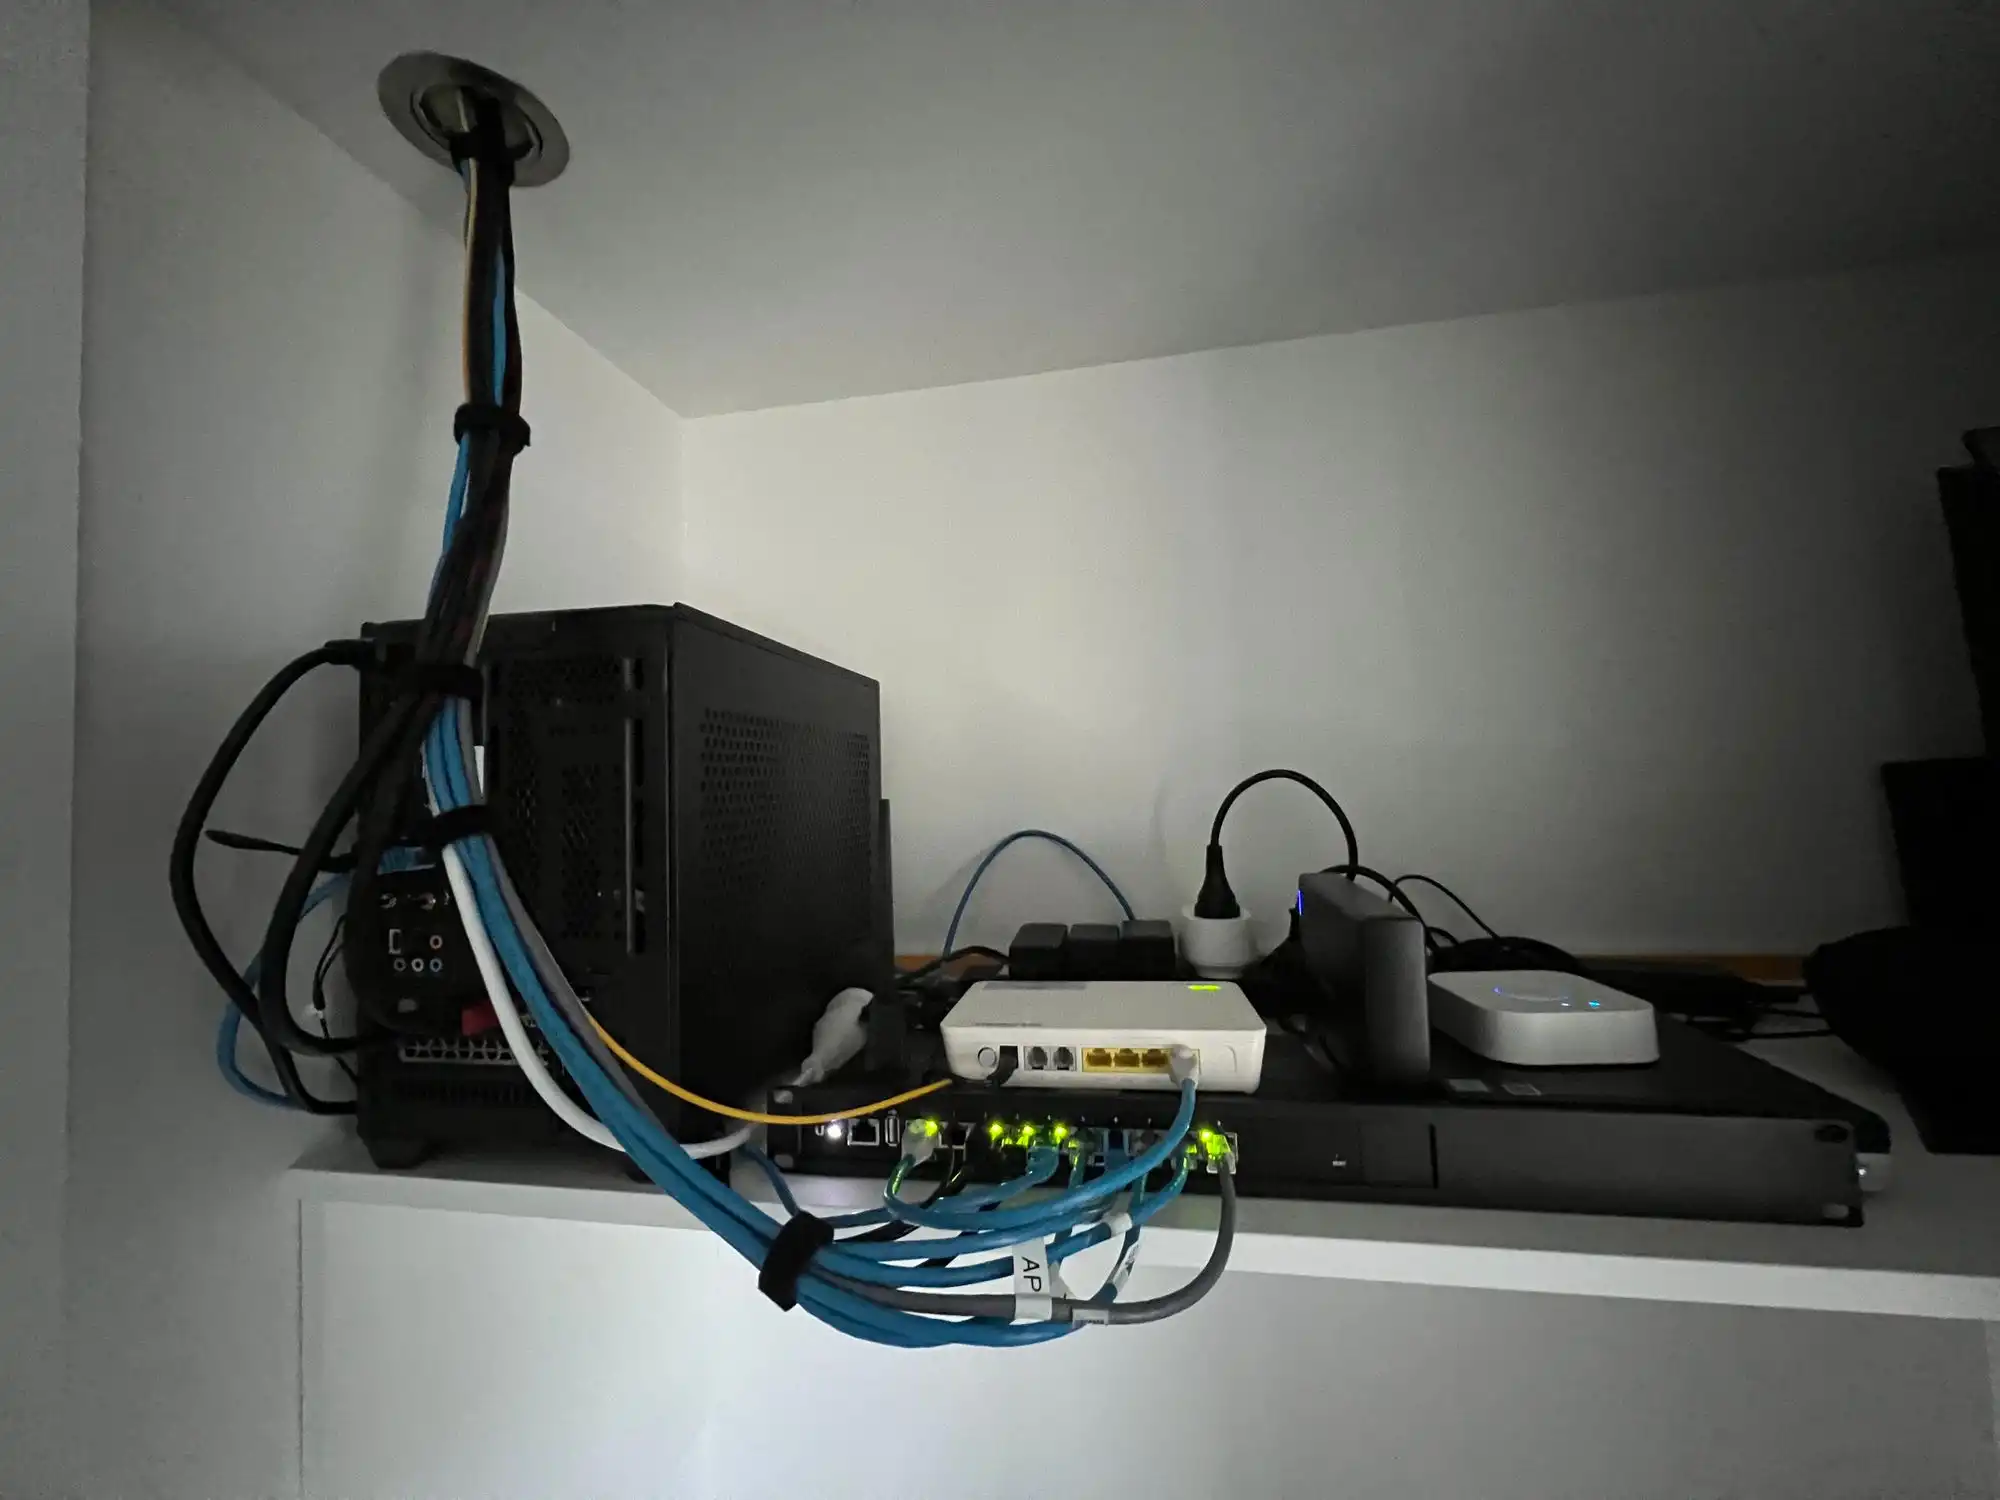
Not really happy with the solution, I decided to invest in a rack. My Criteria:
- Short depth, no more than 600 mm to fit in the wardrobe where I had run my network cabling.
- 10-16U – room for everything I have currently plus a UPS and a server or two further down the line.
- Open frame
- Cheap
I ordered a rack that suited my needs and waited for delivery, only to find that the vendor had run out of stock and was not going to ship the rack! They tried to upsell me to a more expensive model they had in stock. Reluctantly, I said no.
After looking at a few other options and finding nothing suitable, I decided to form my own design and build one myself.
Rack Design#
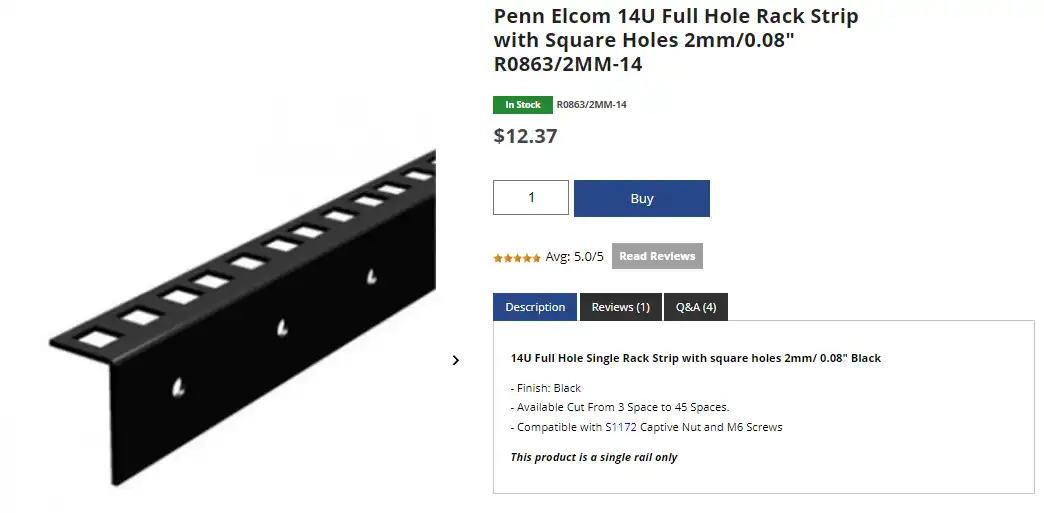
I found some standalone rack strips from Penn Elcom:
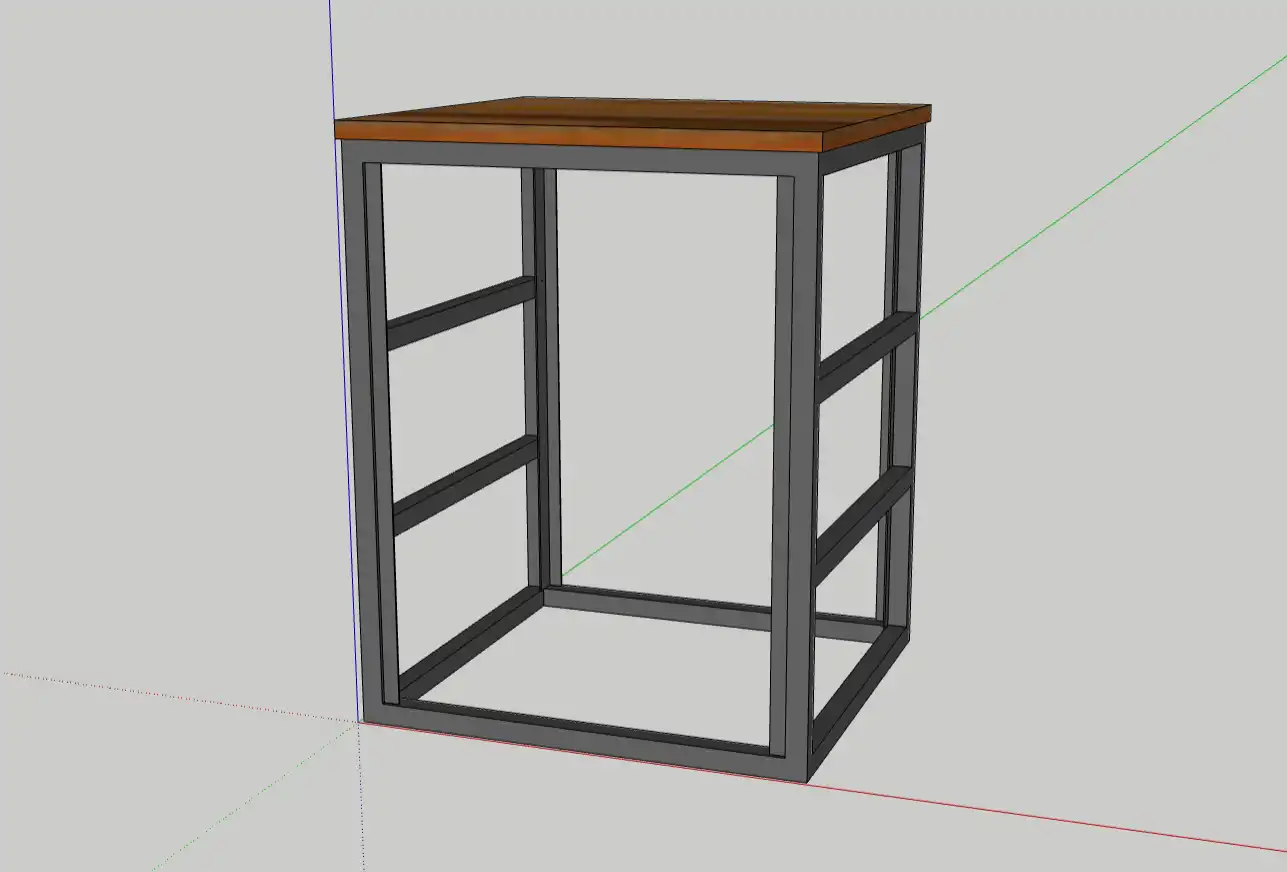
After a couple of hours in SketchUp, I came up with this:
I then enlisted the help of my dad, a qualified engineer and skilled fabricator and got to work.
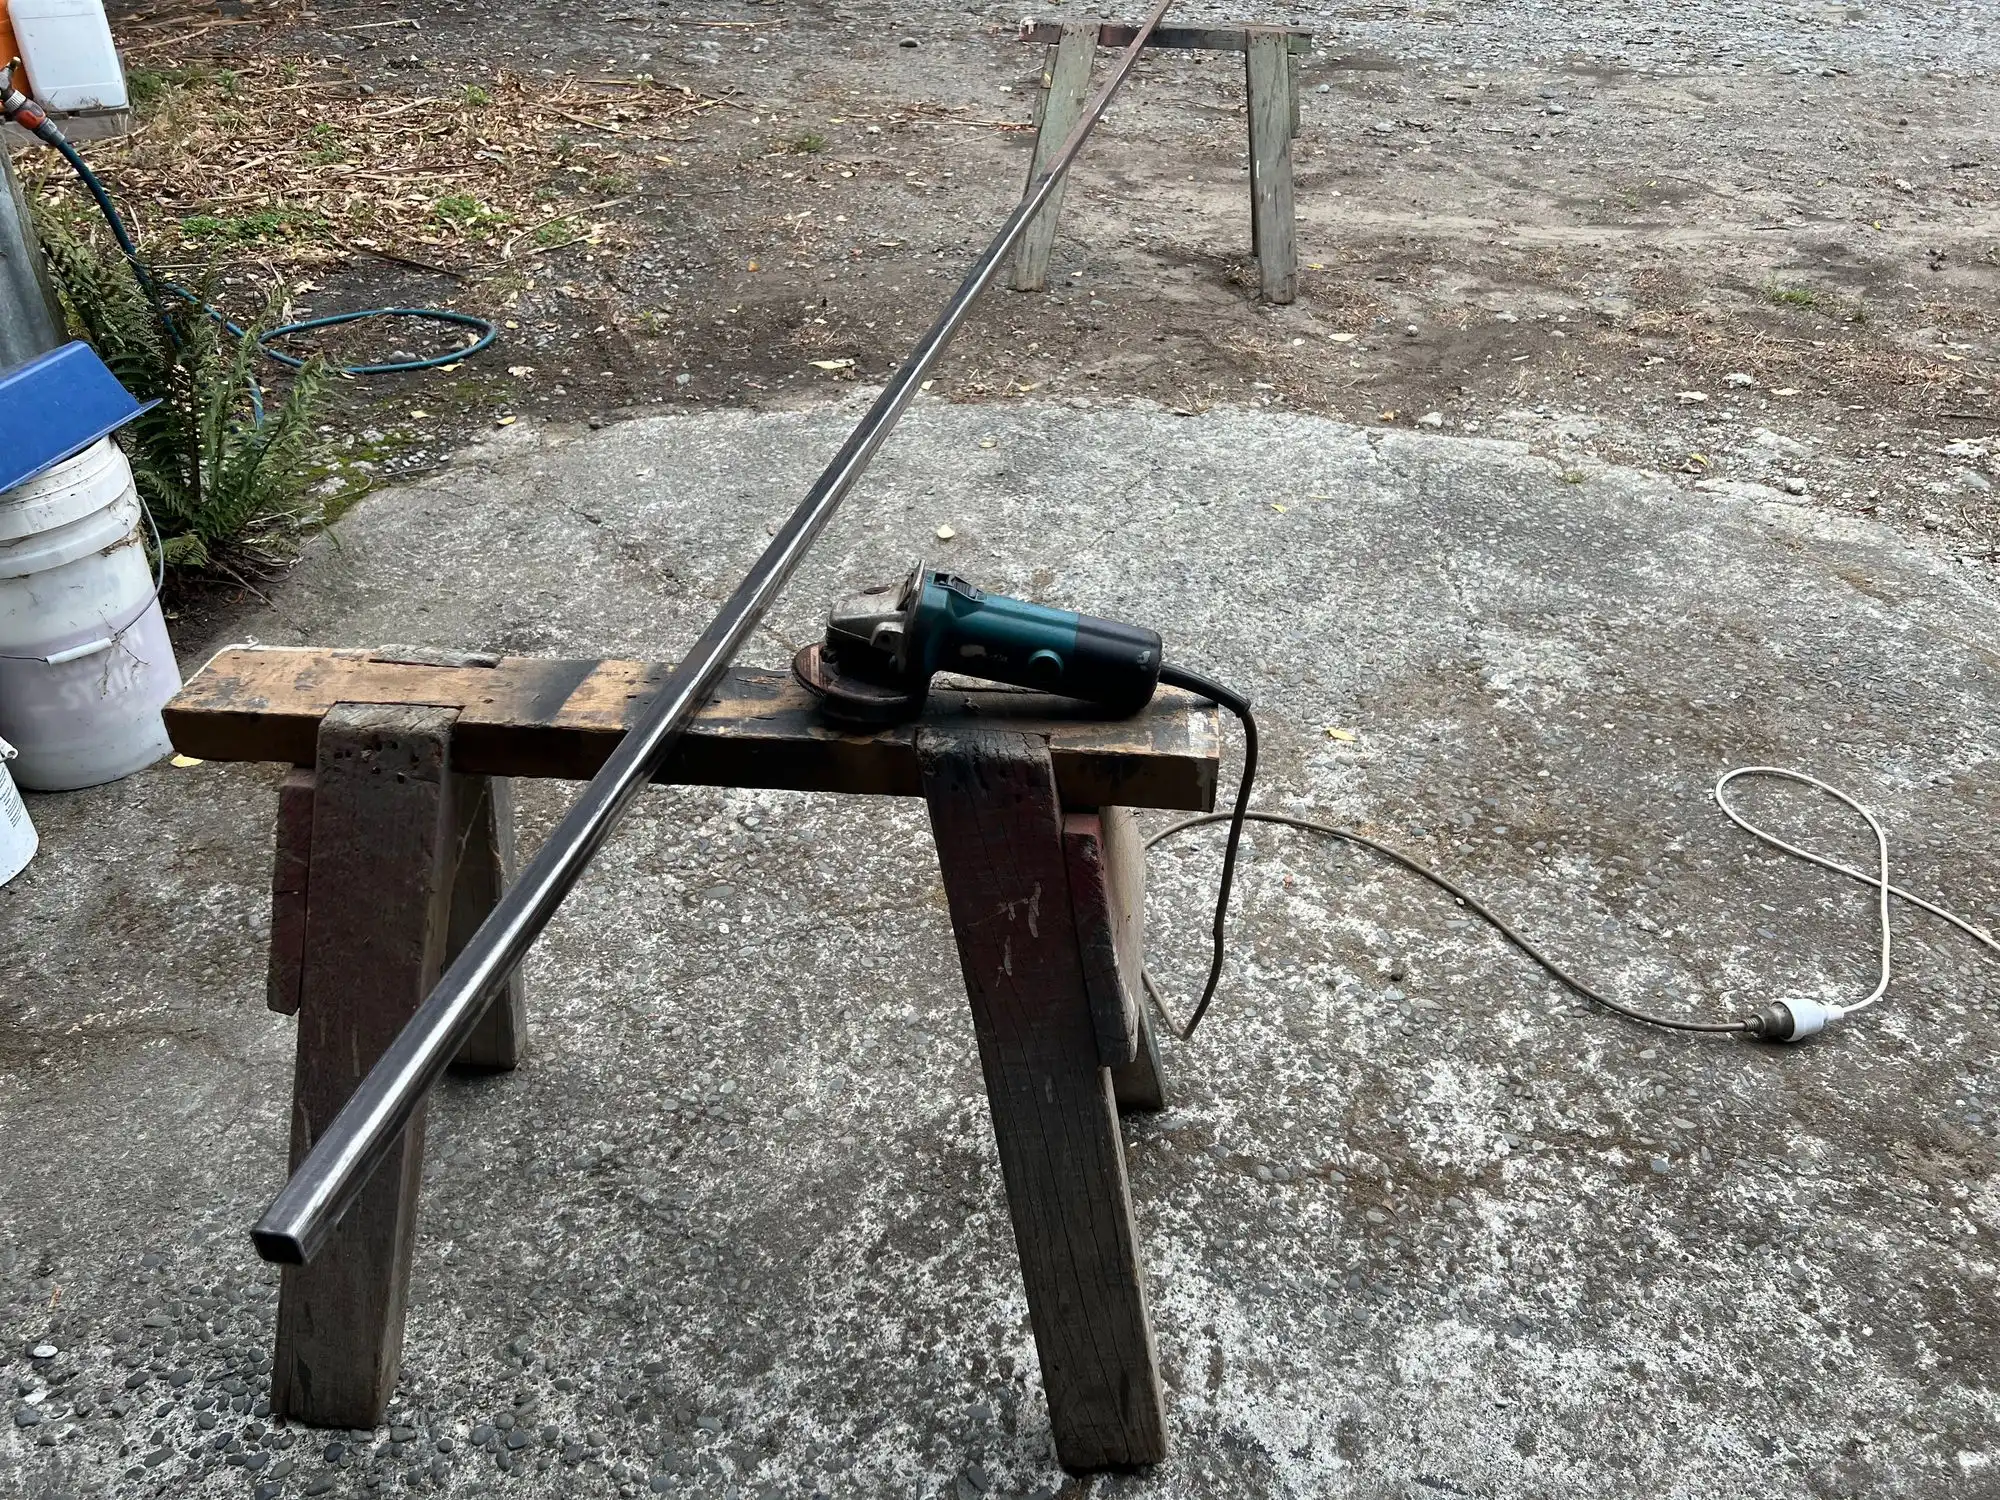
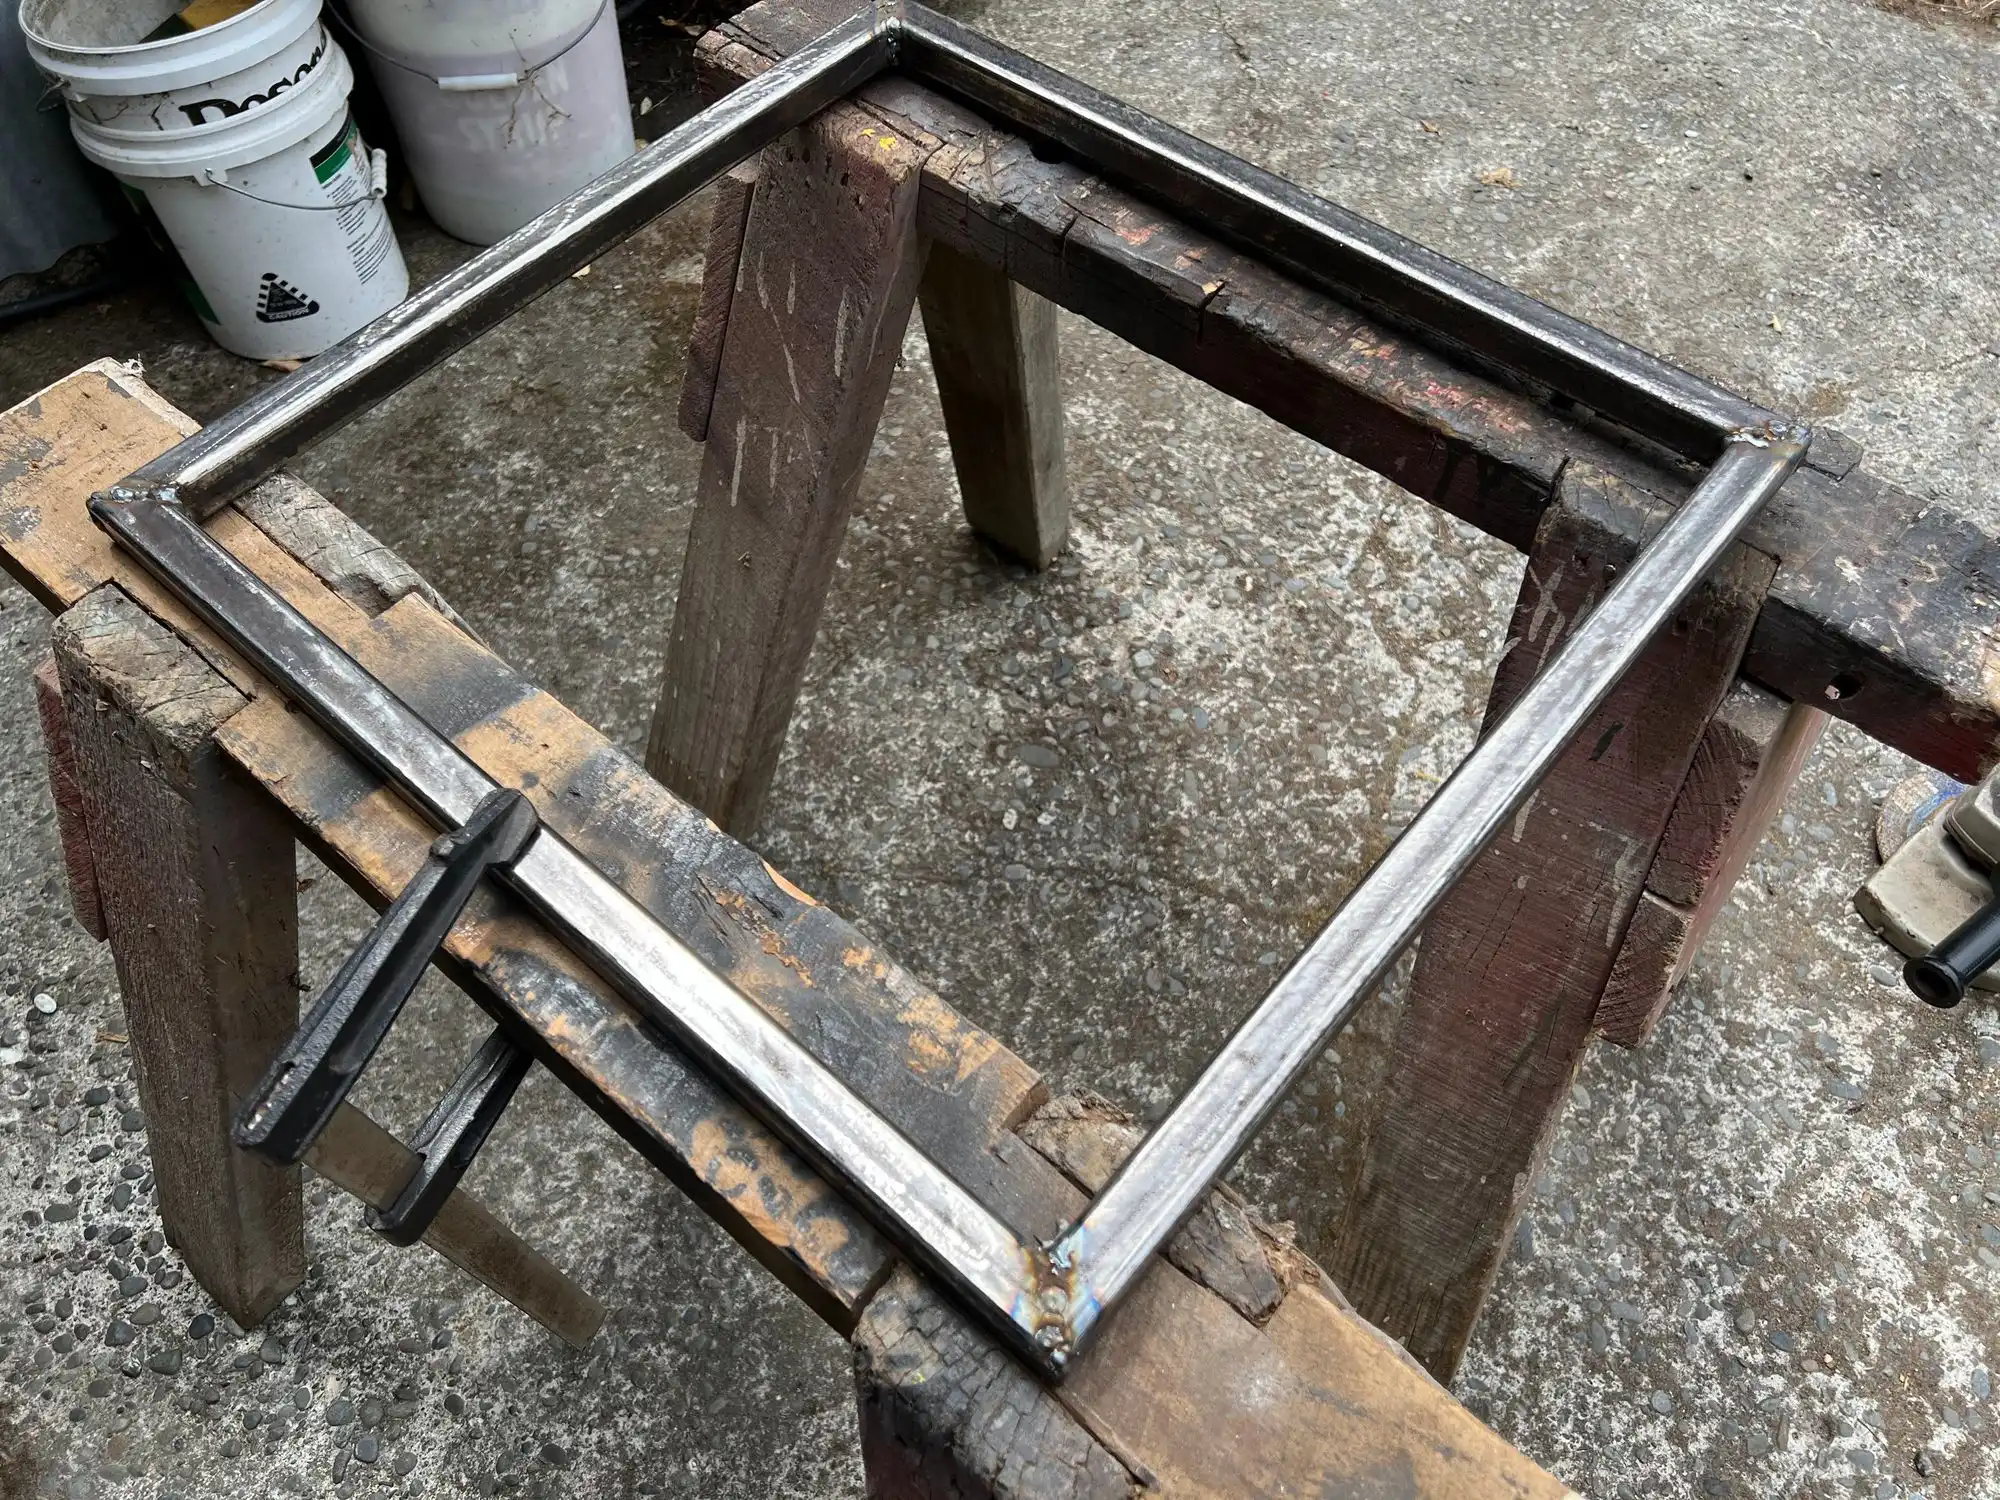
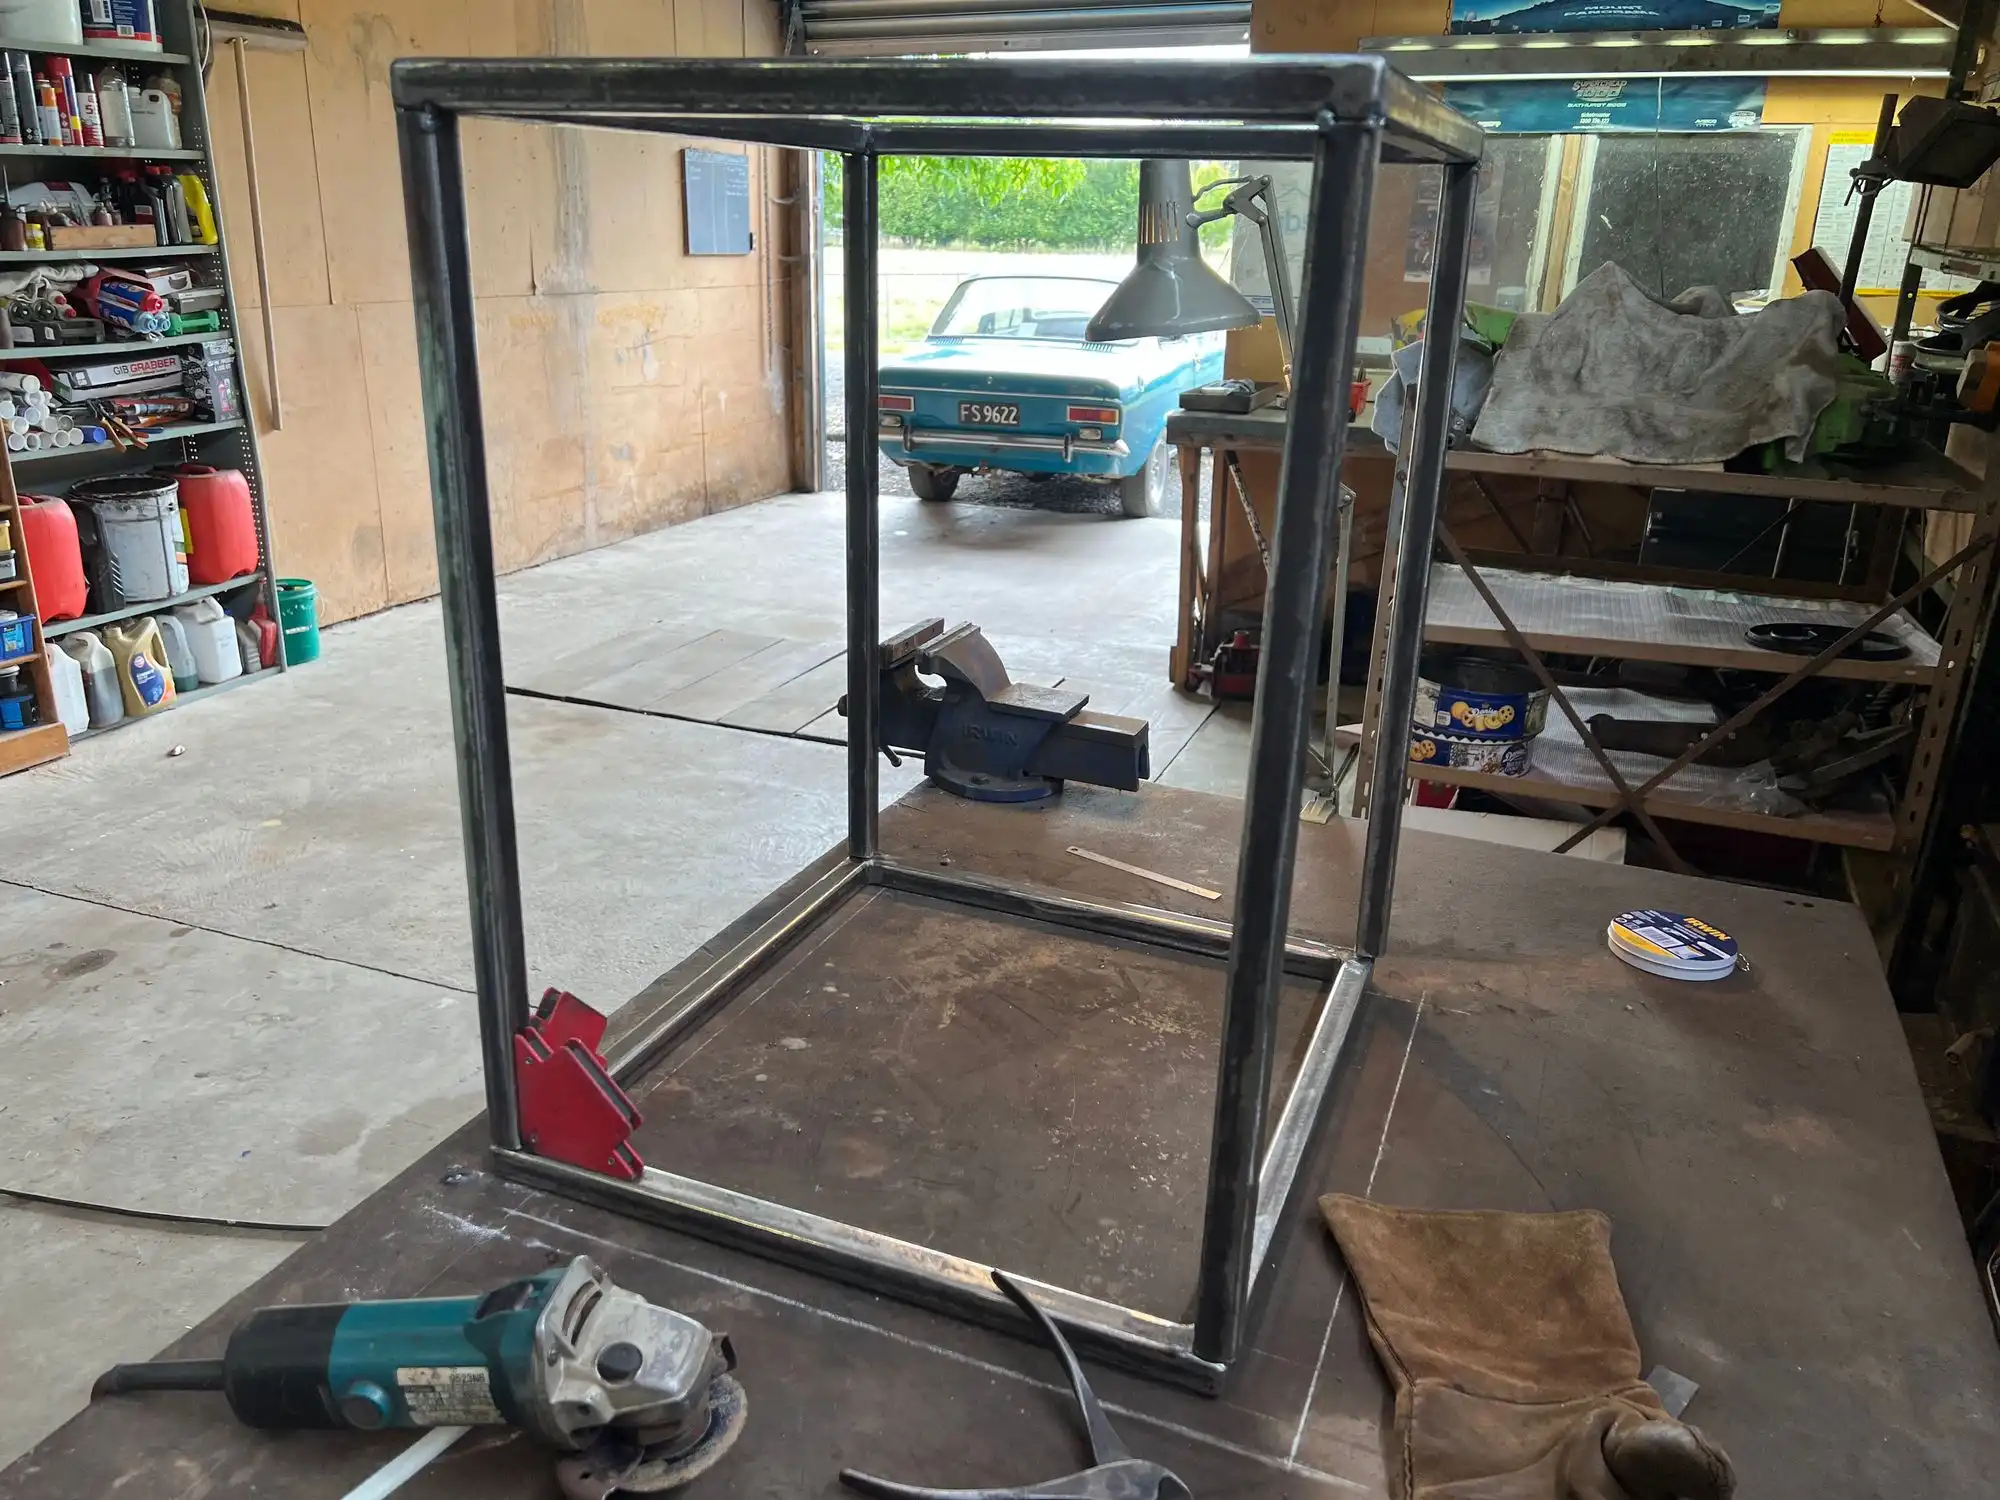
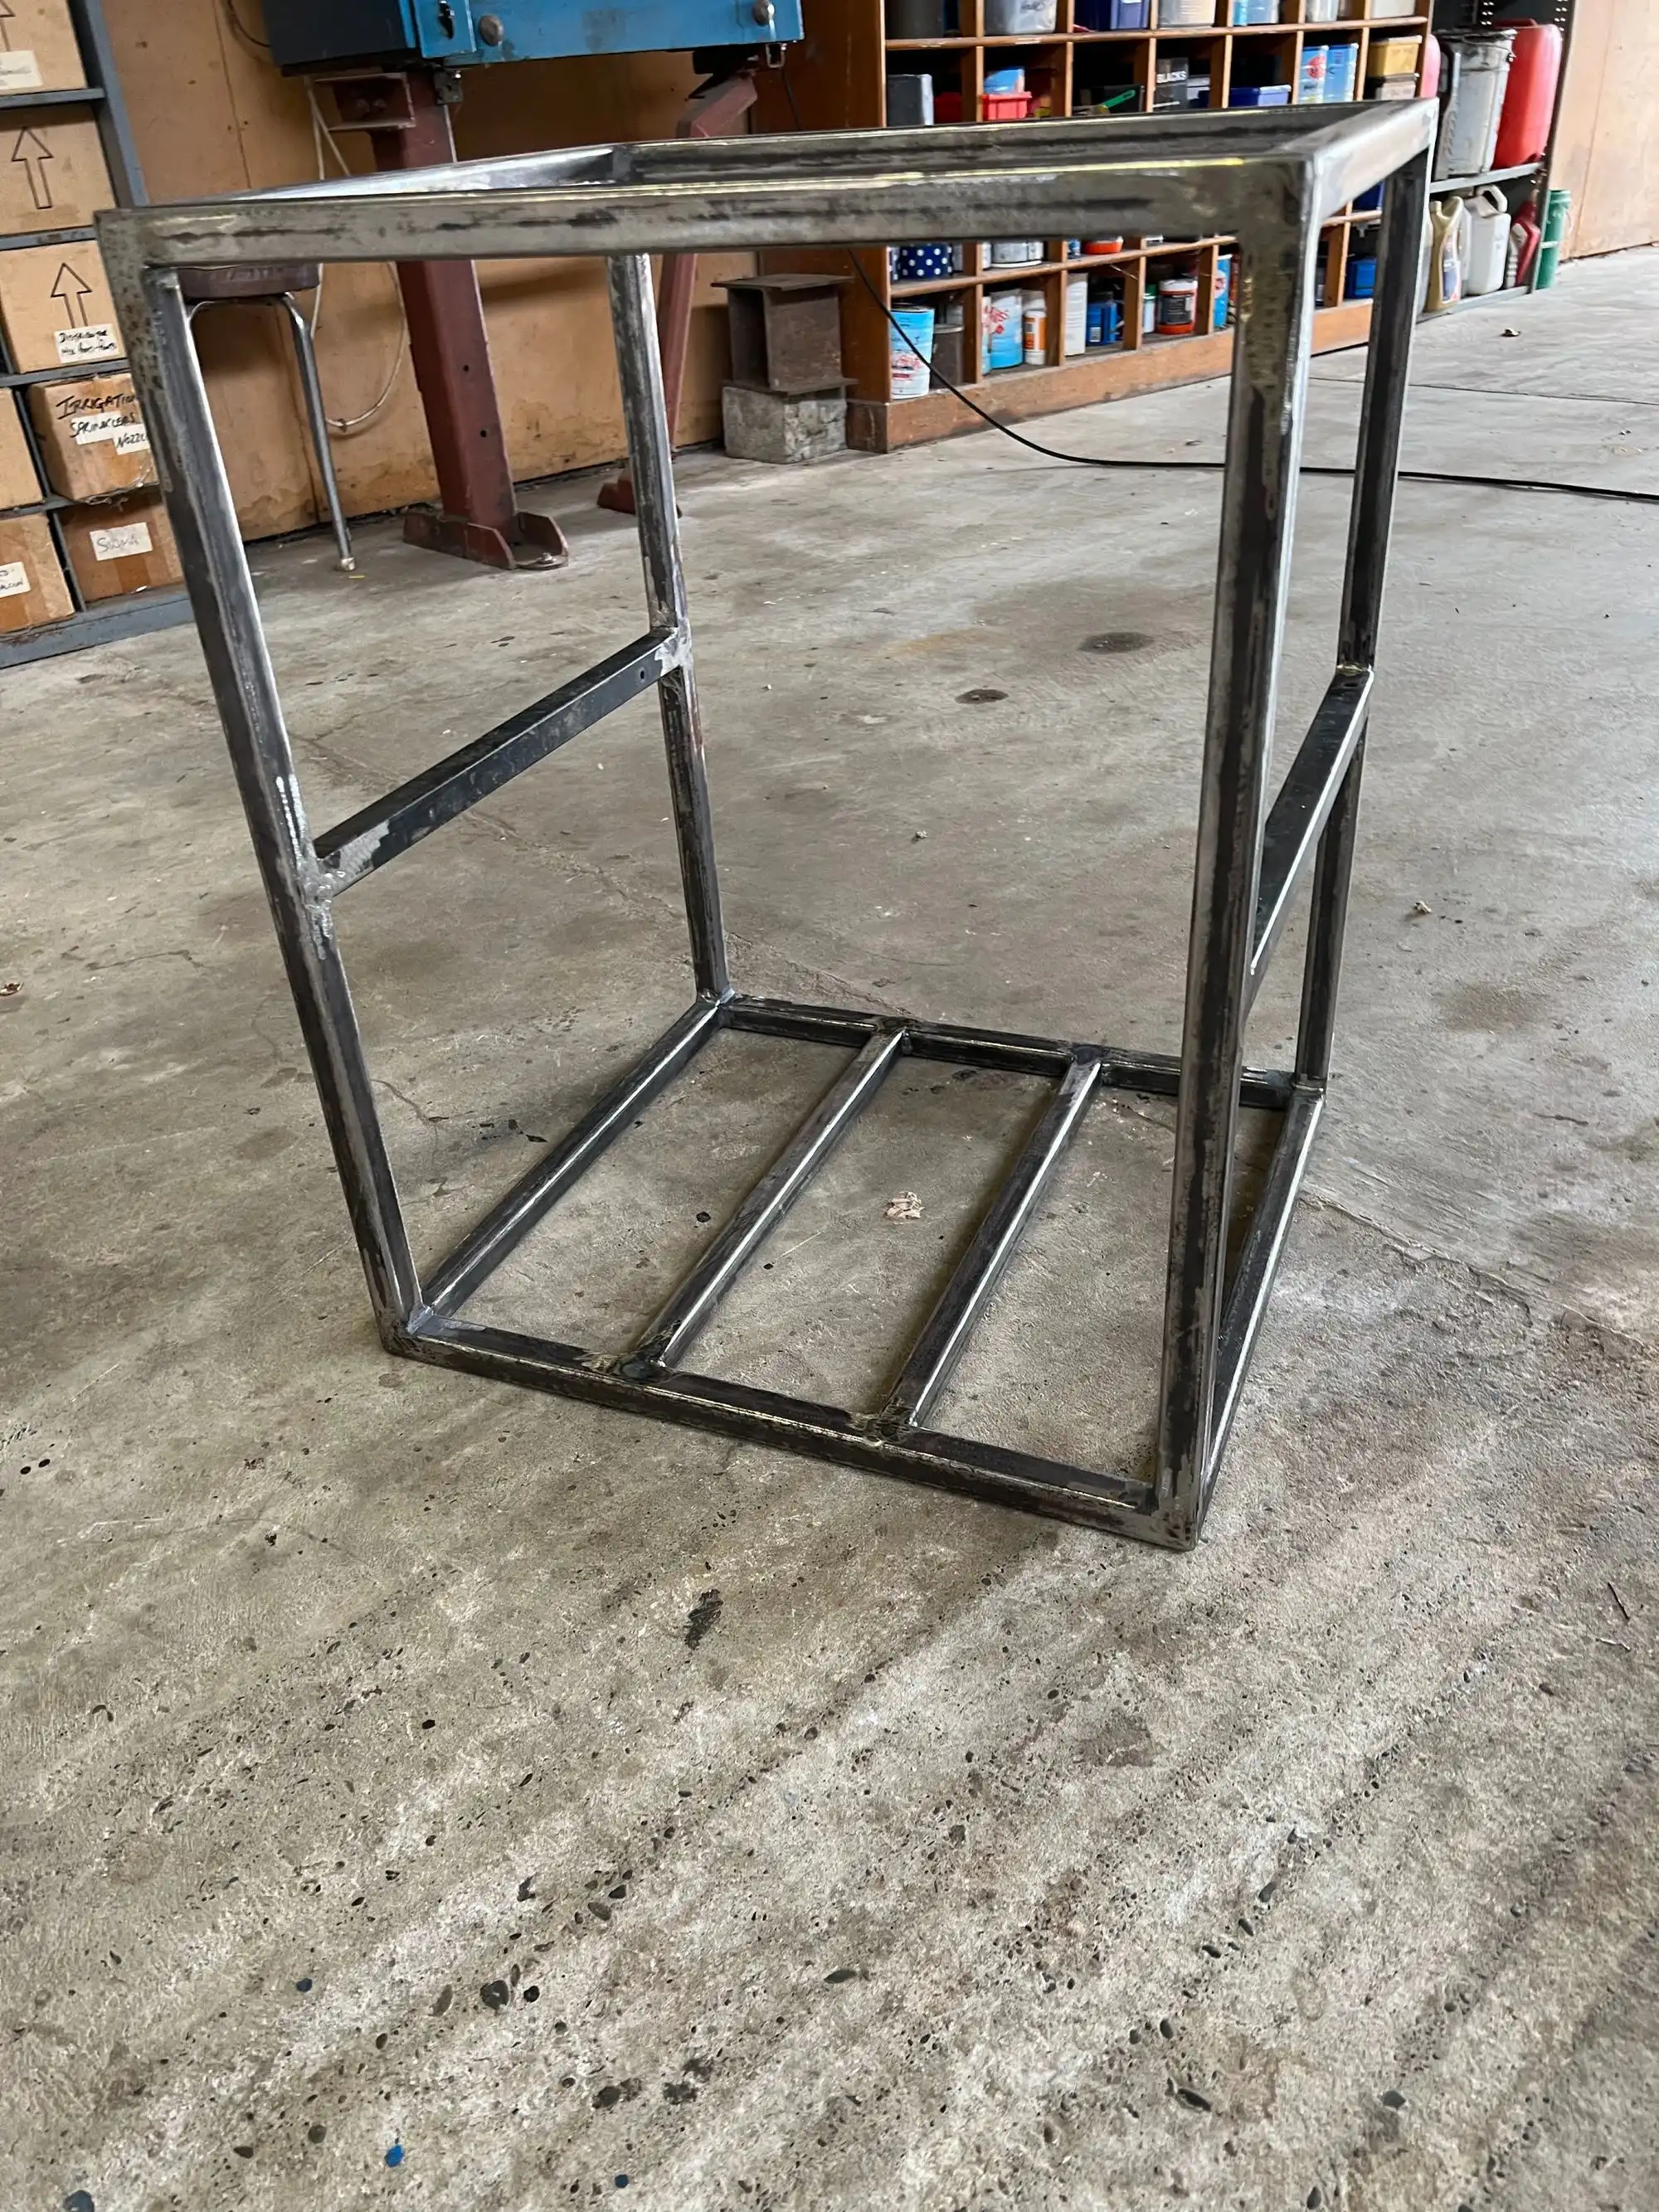
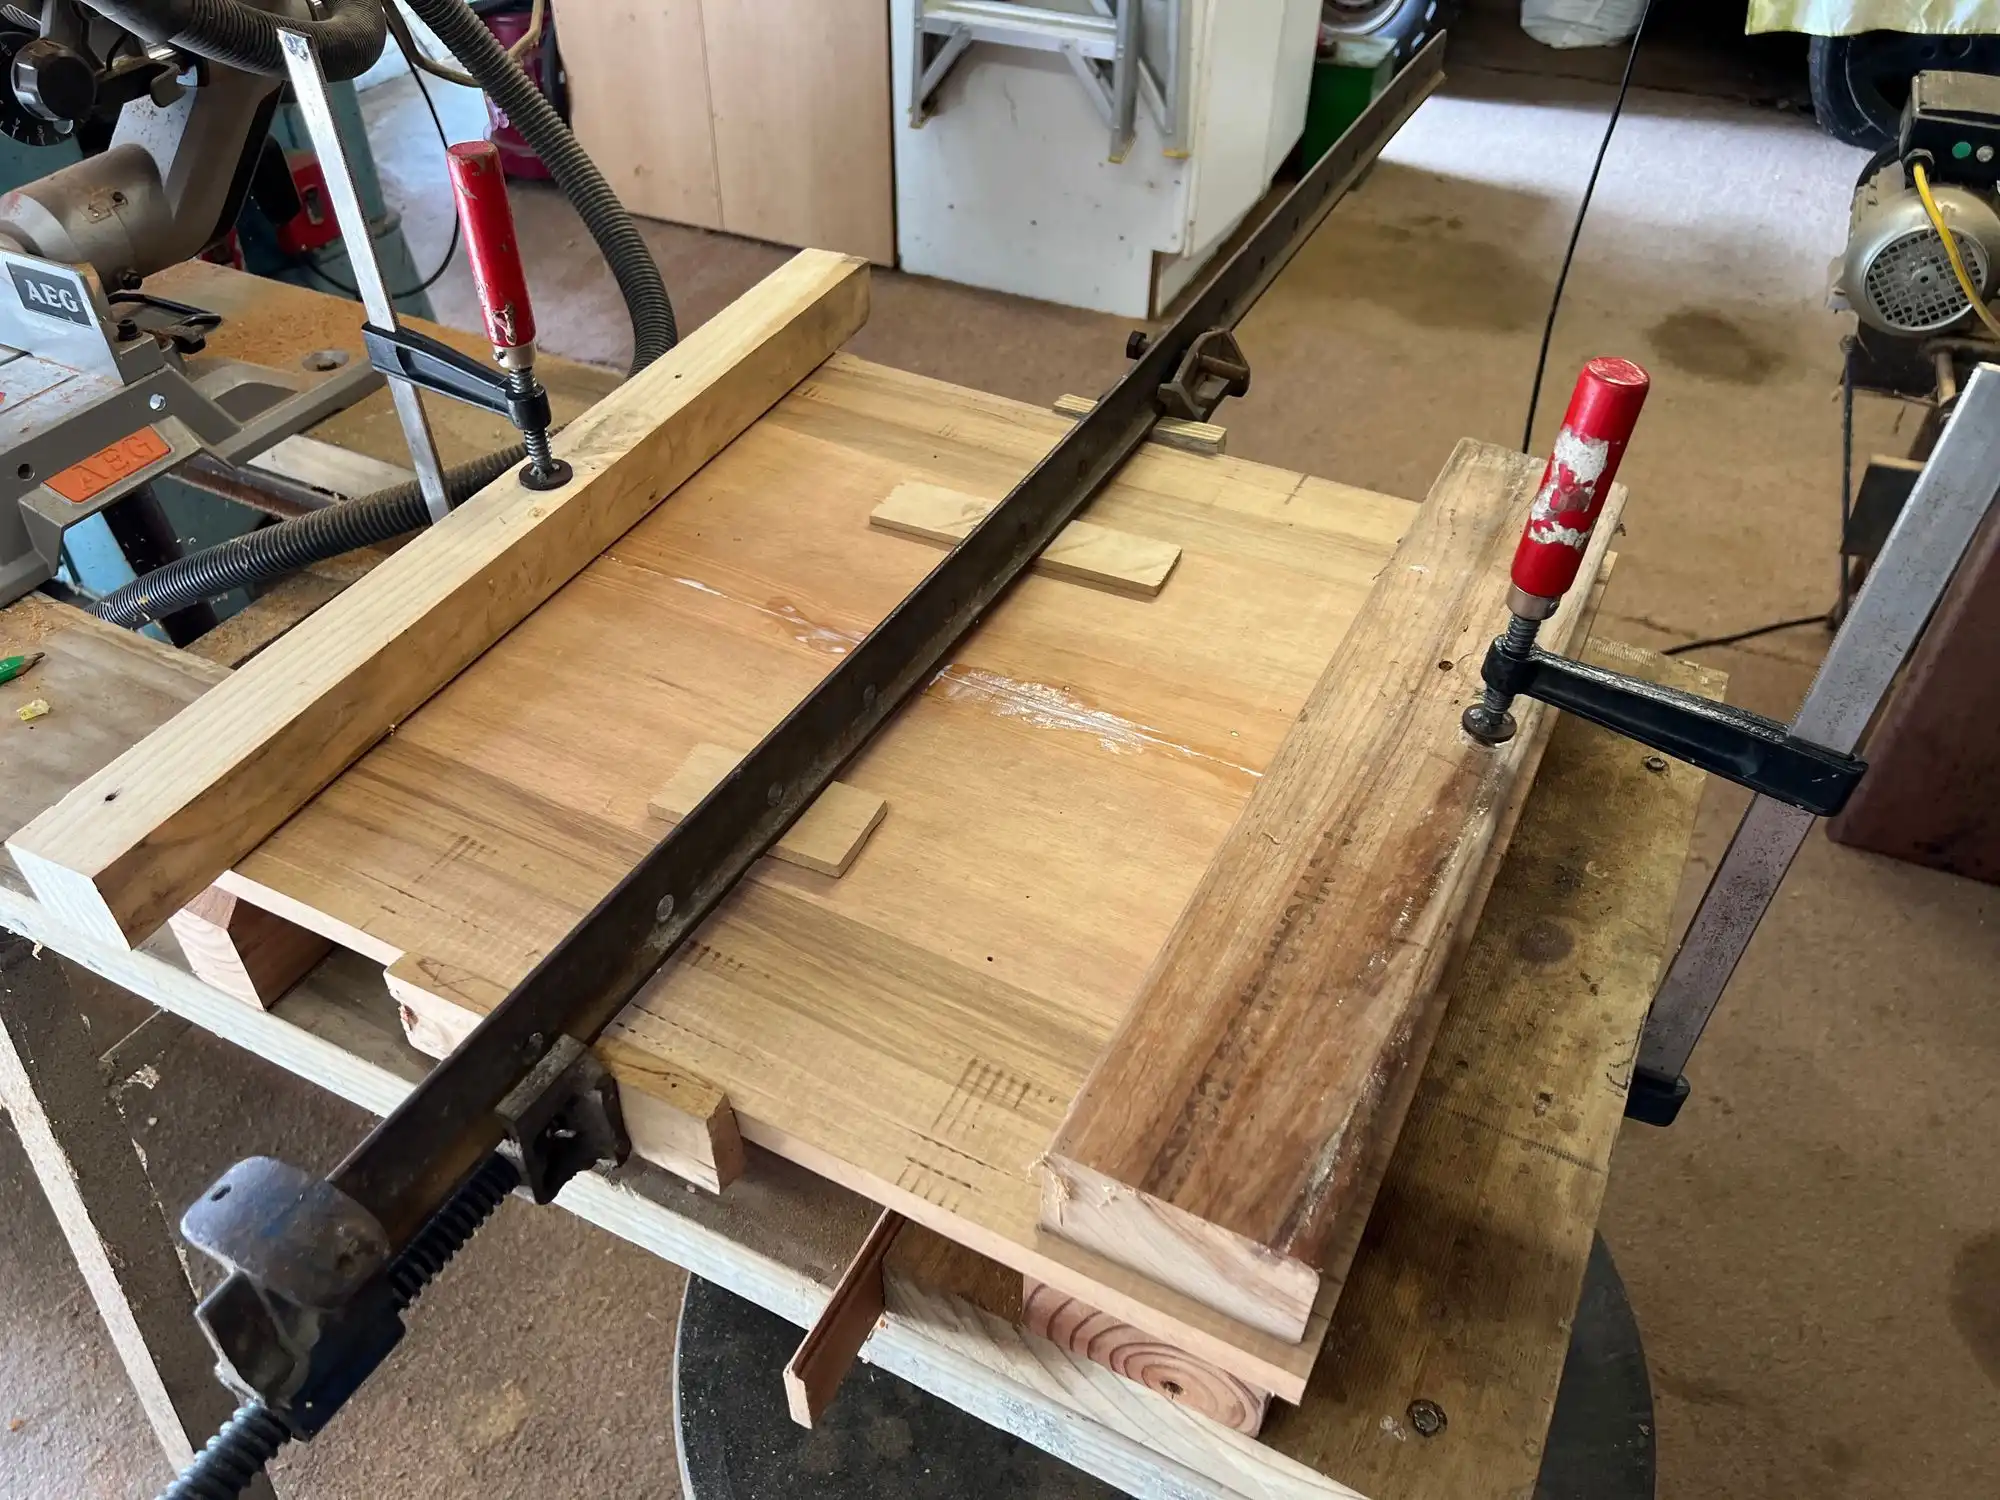
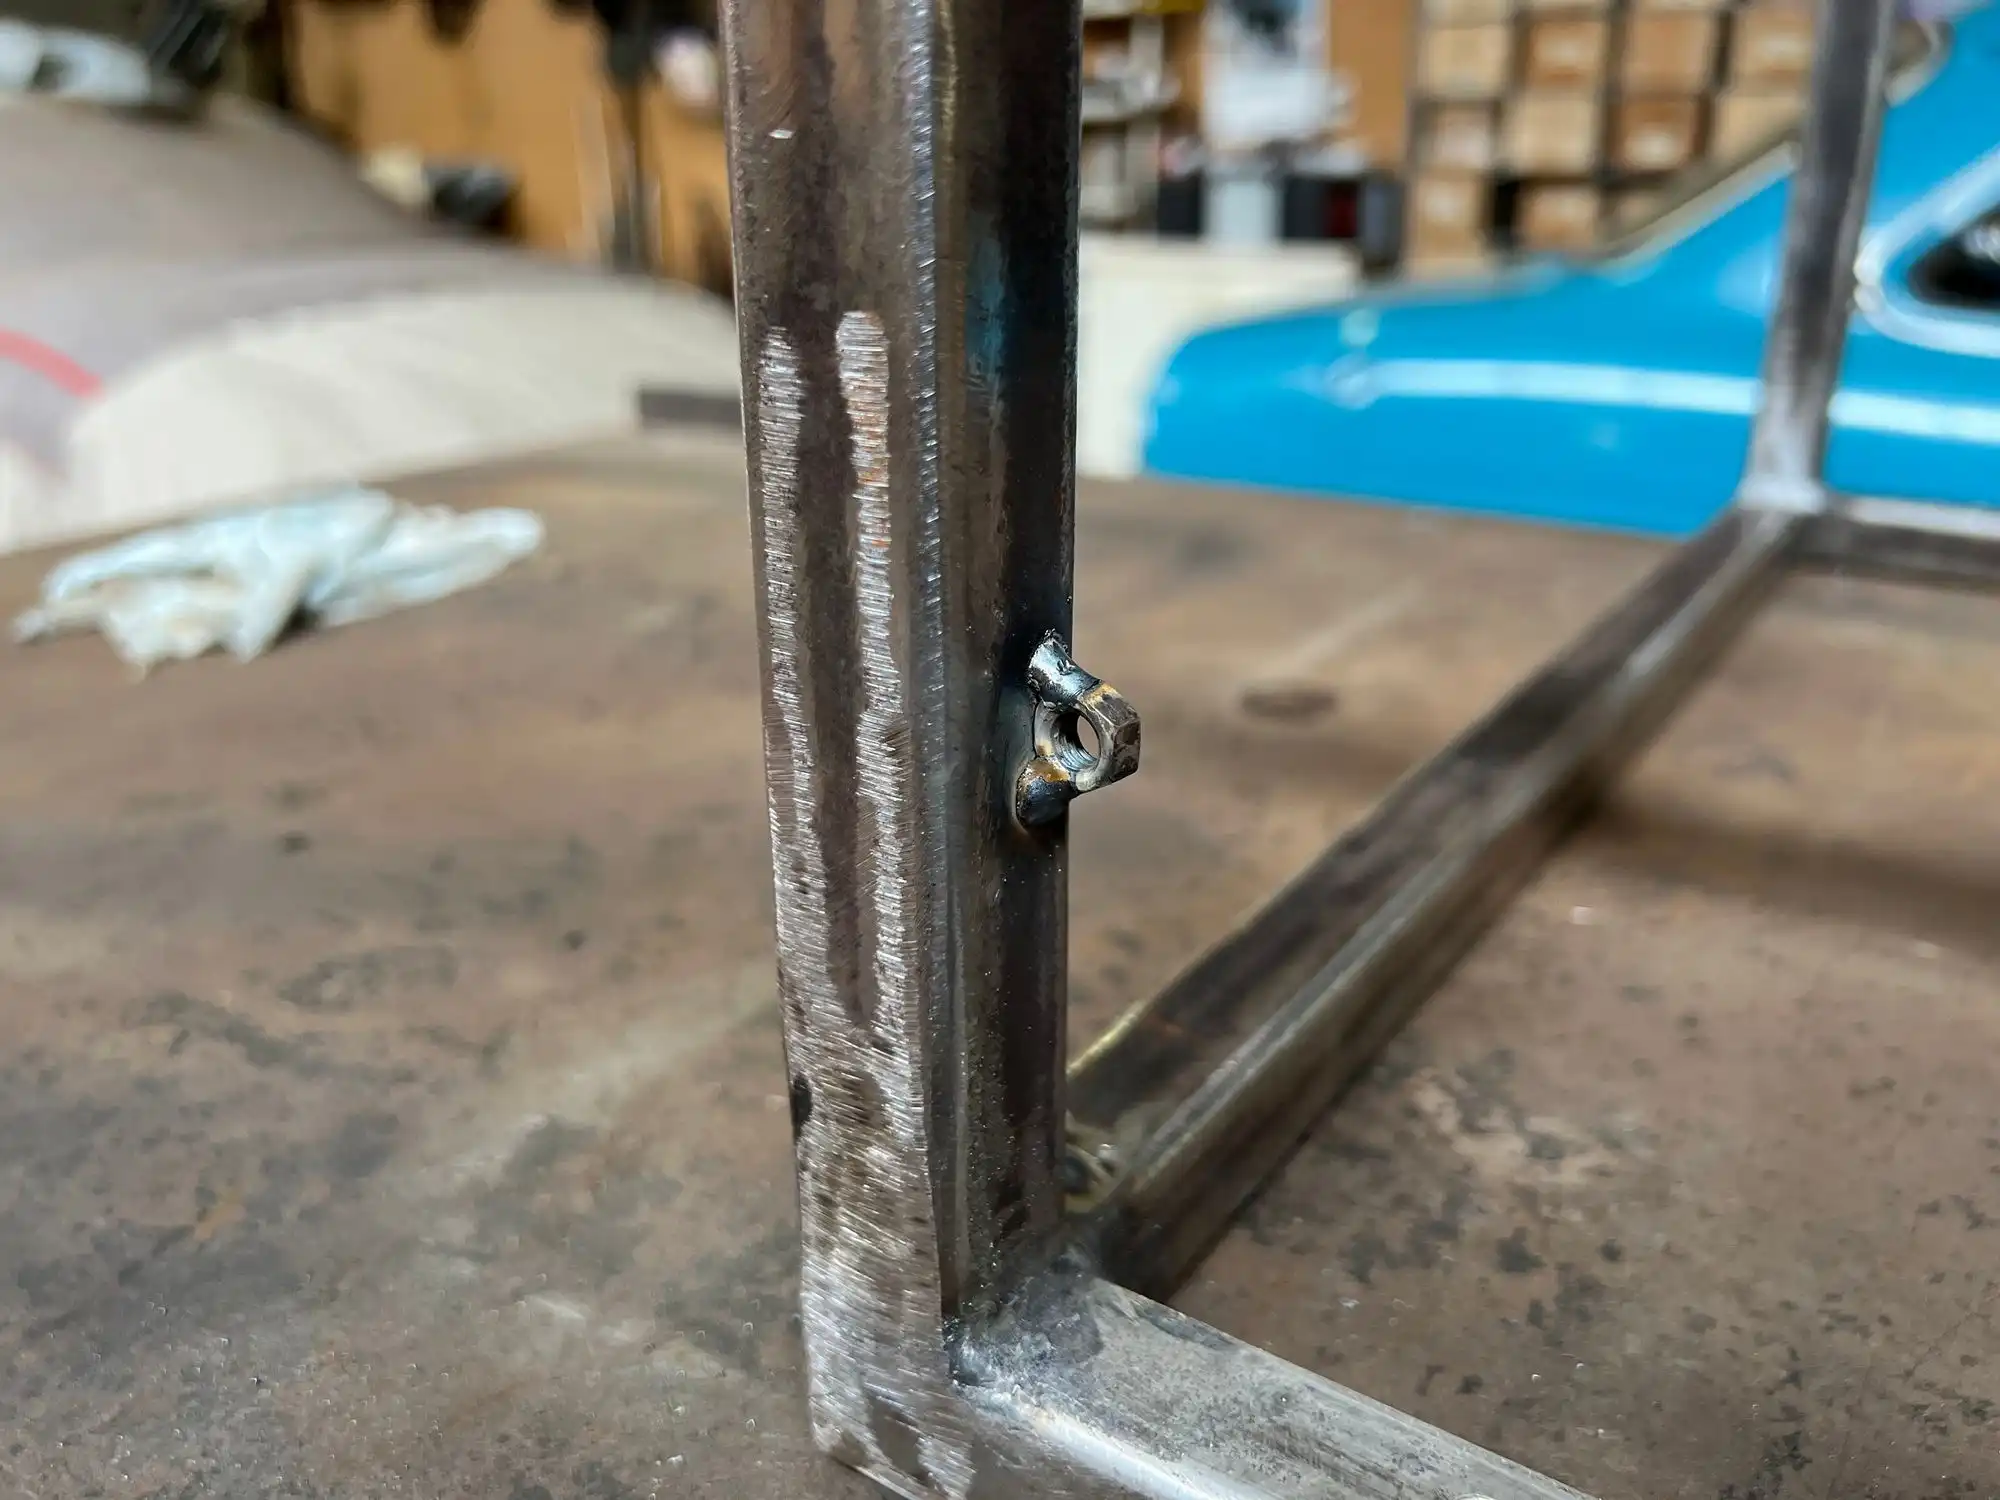
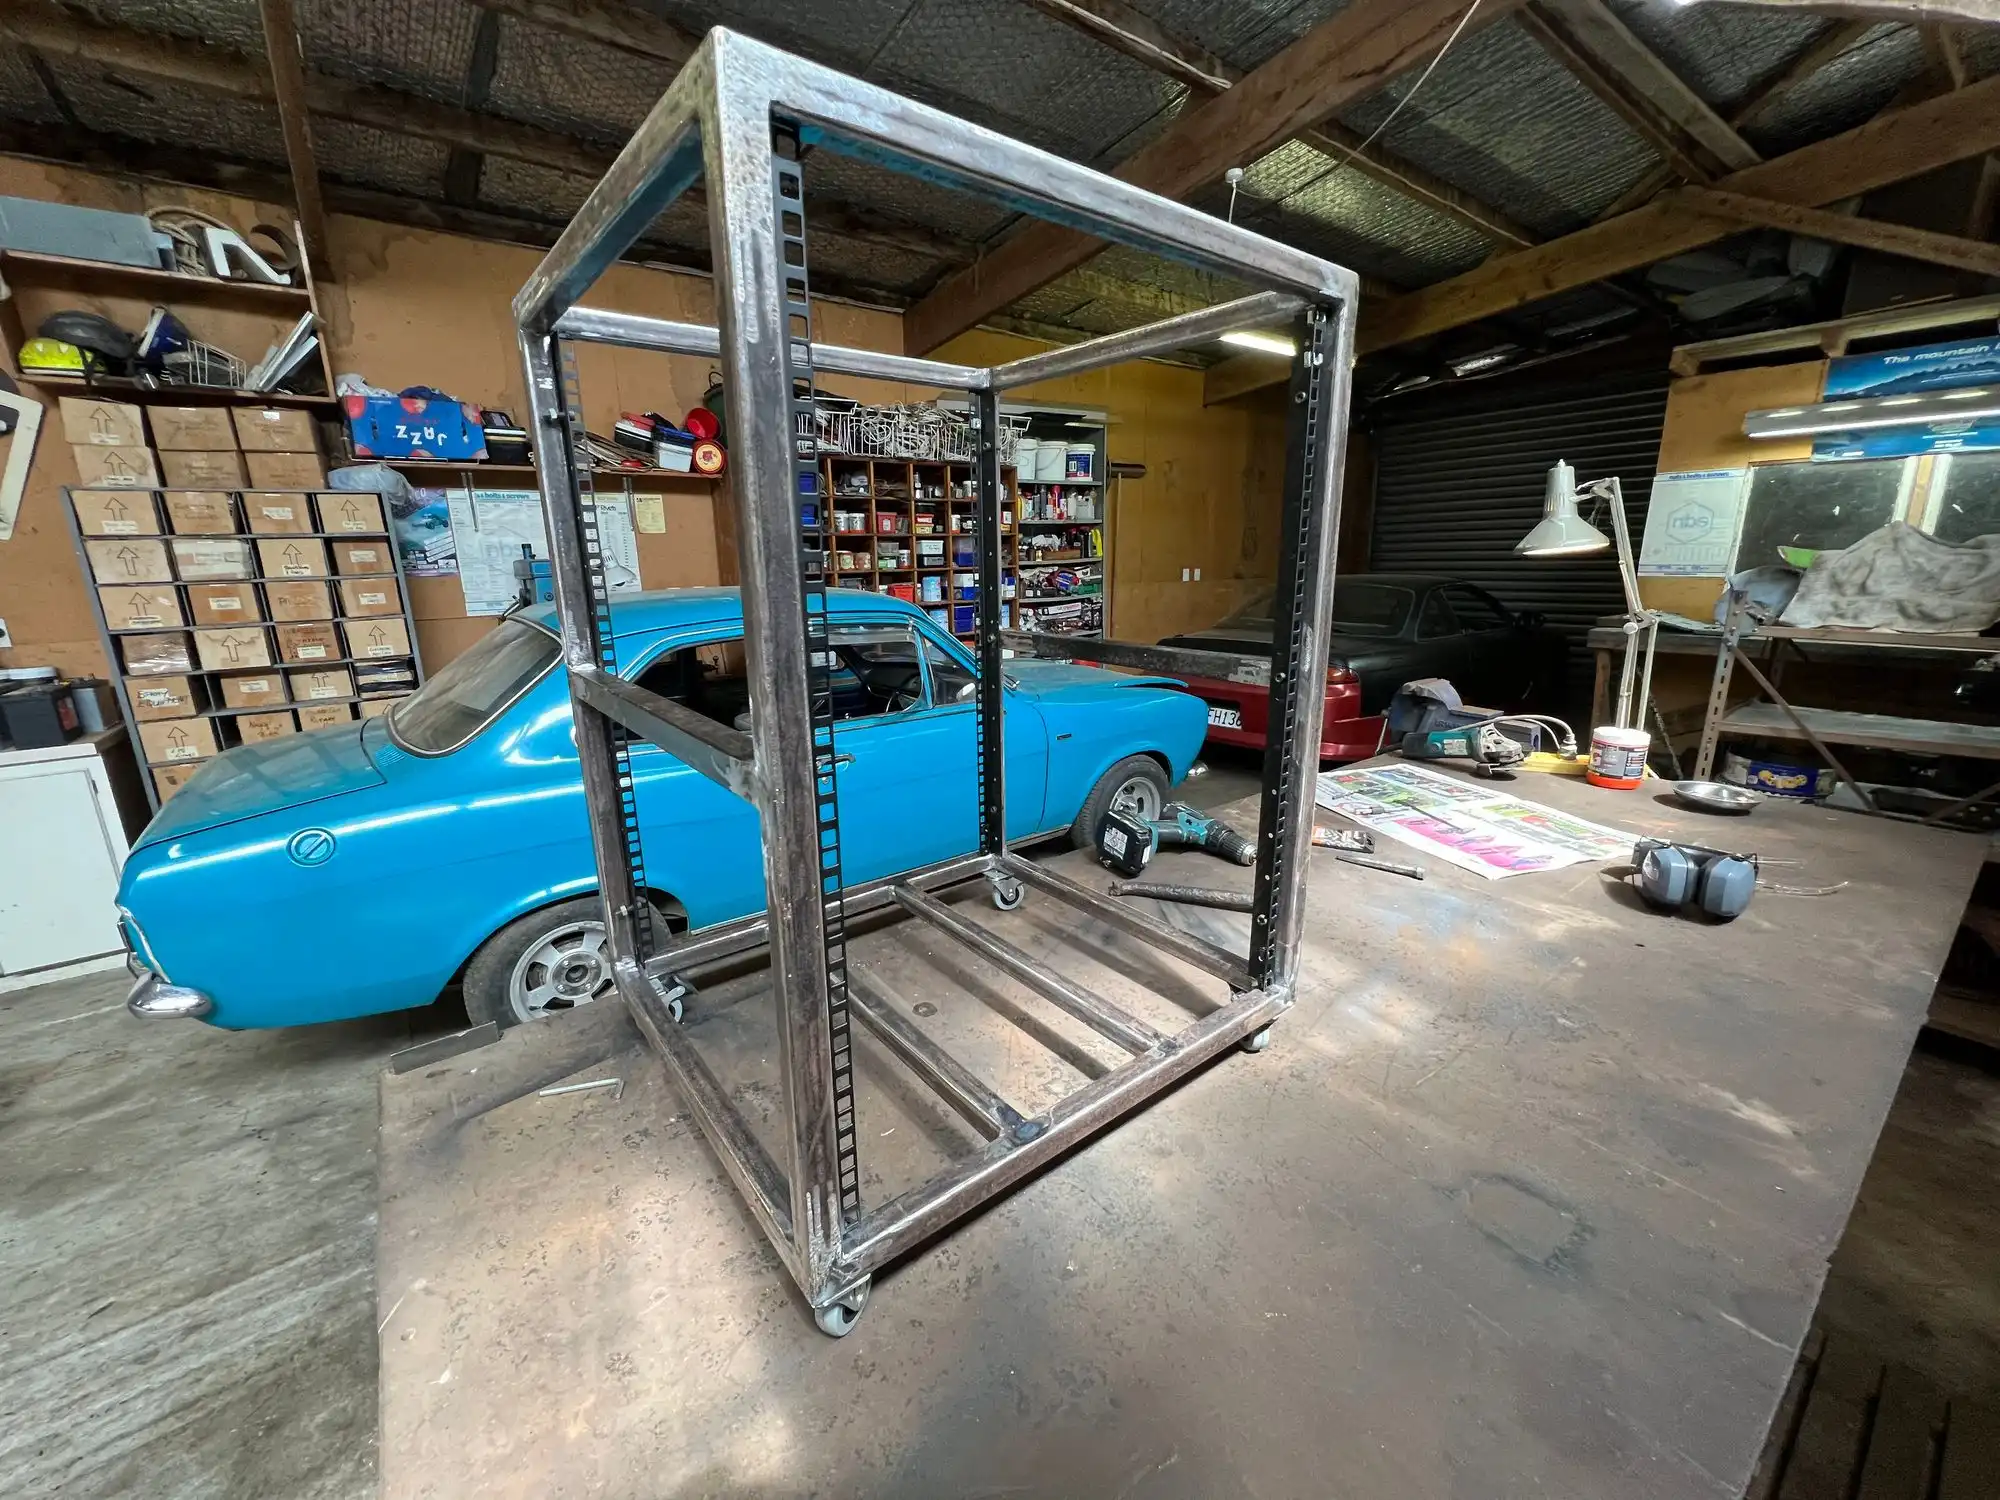
The build#
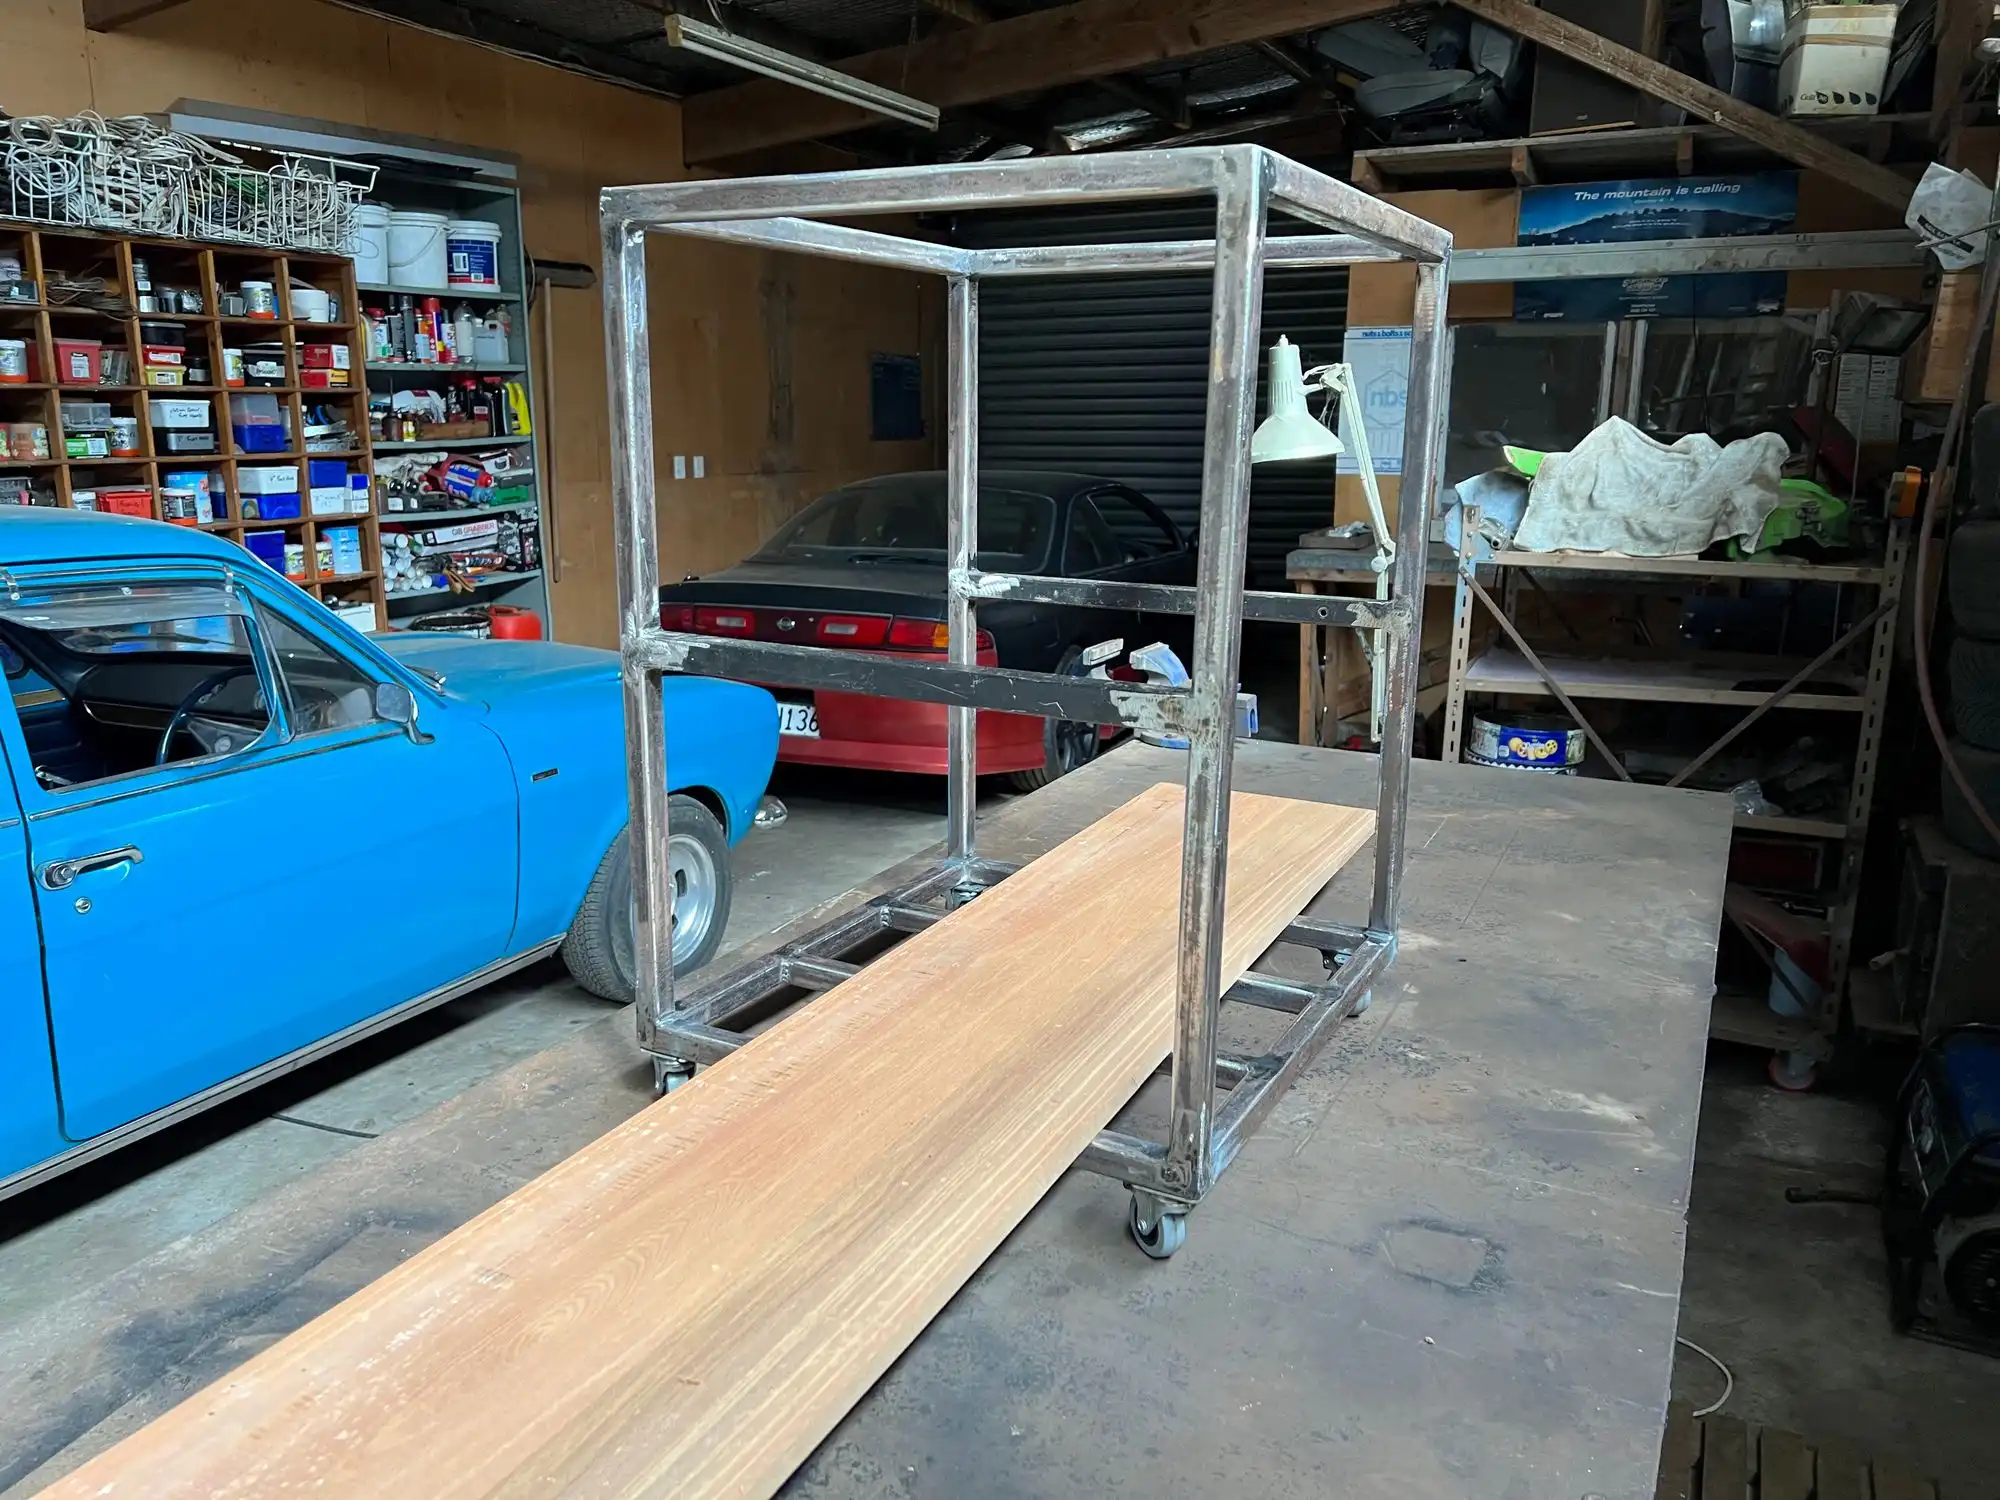
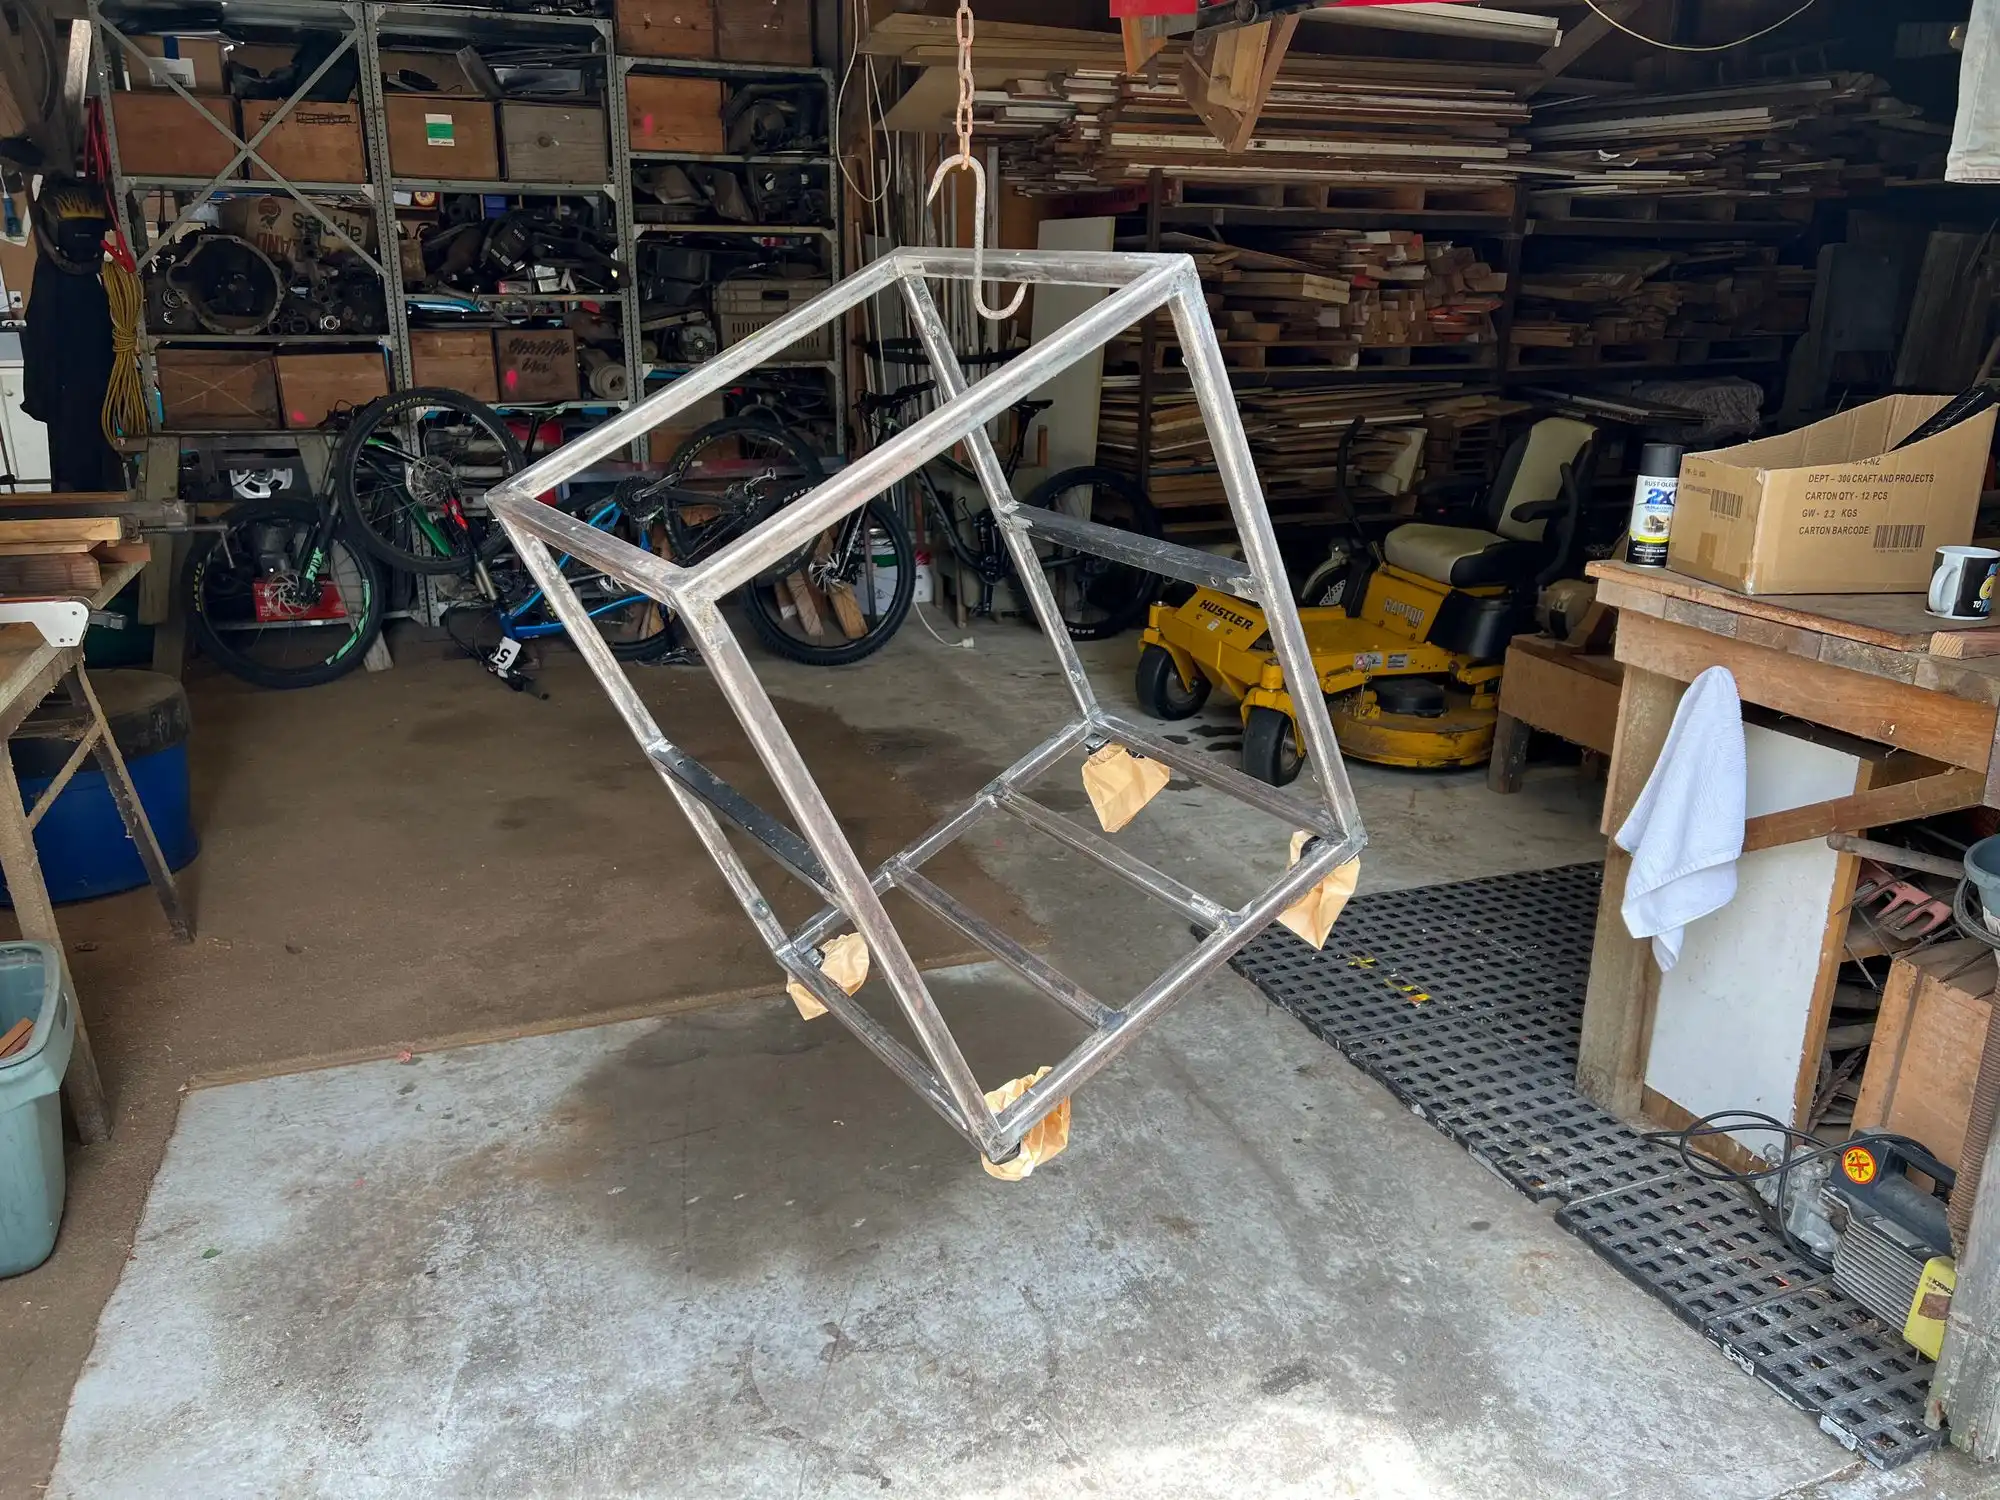
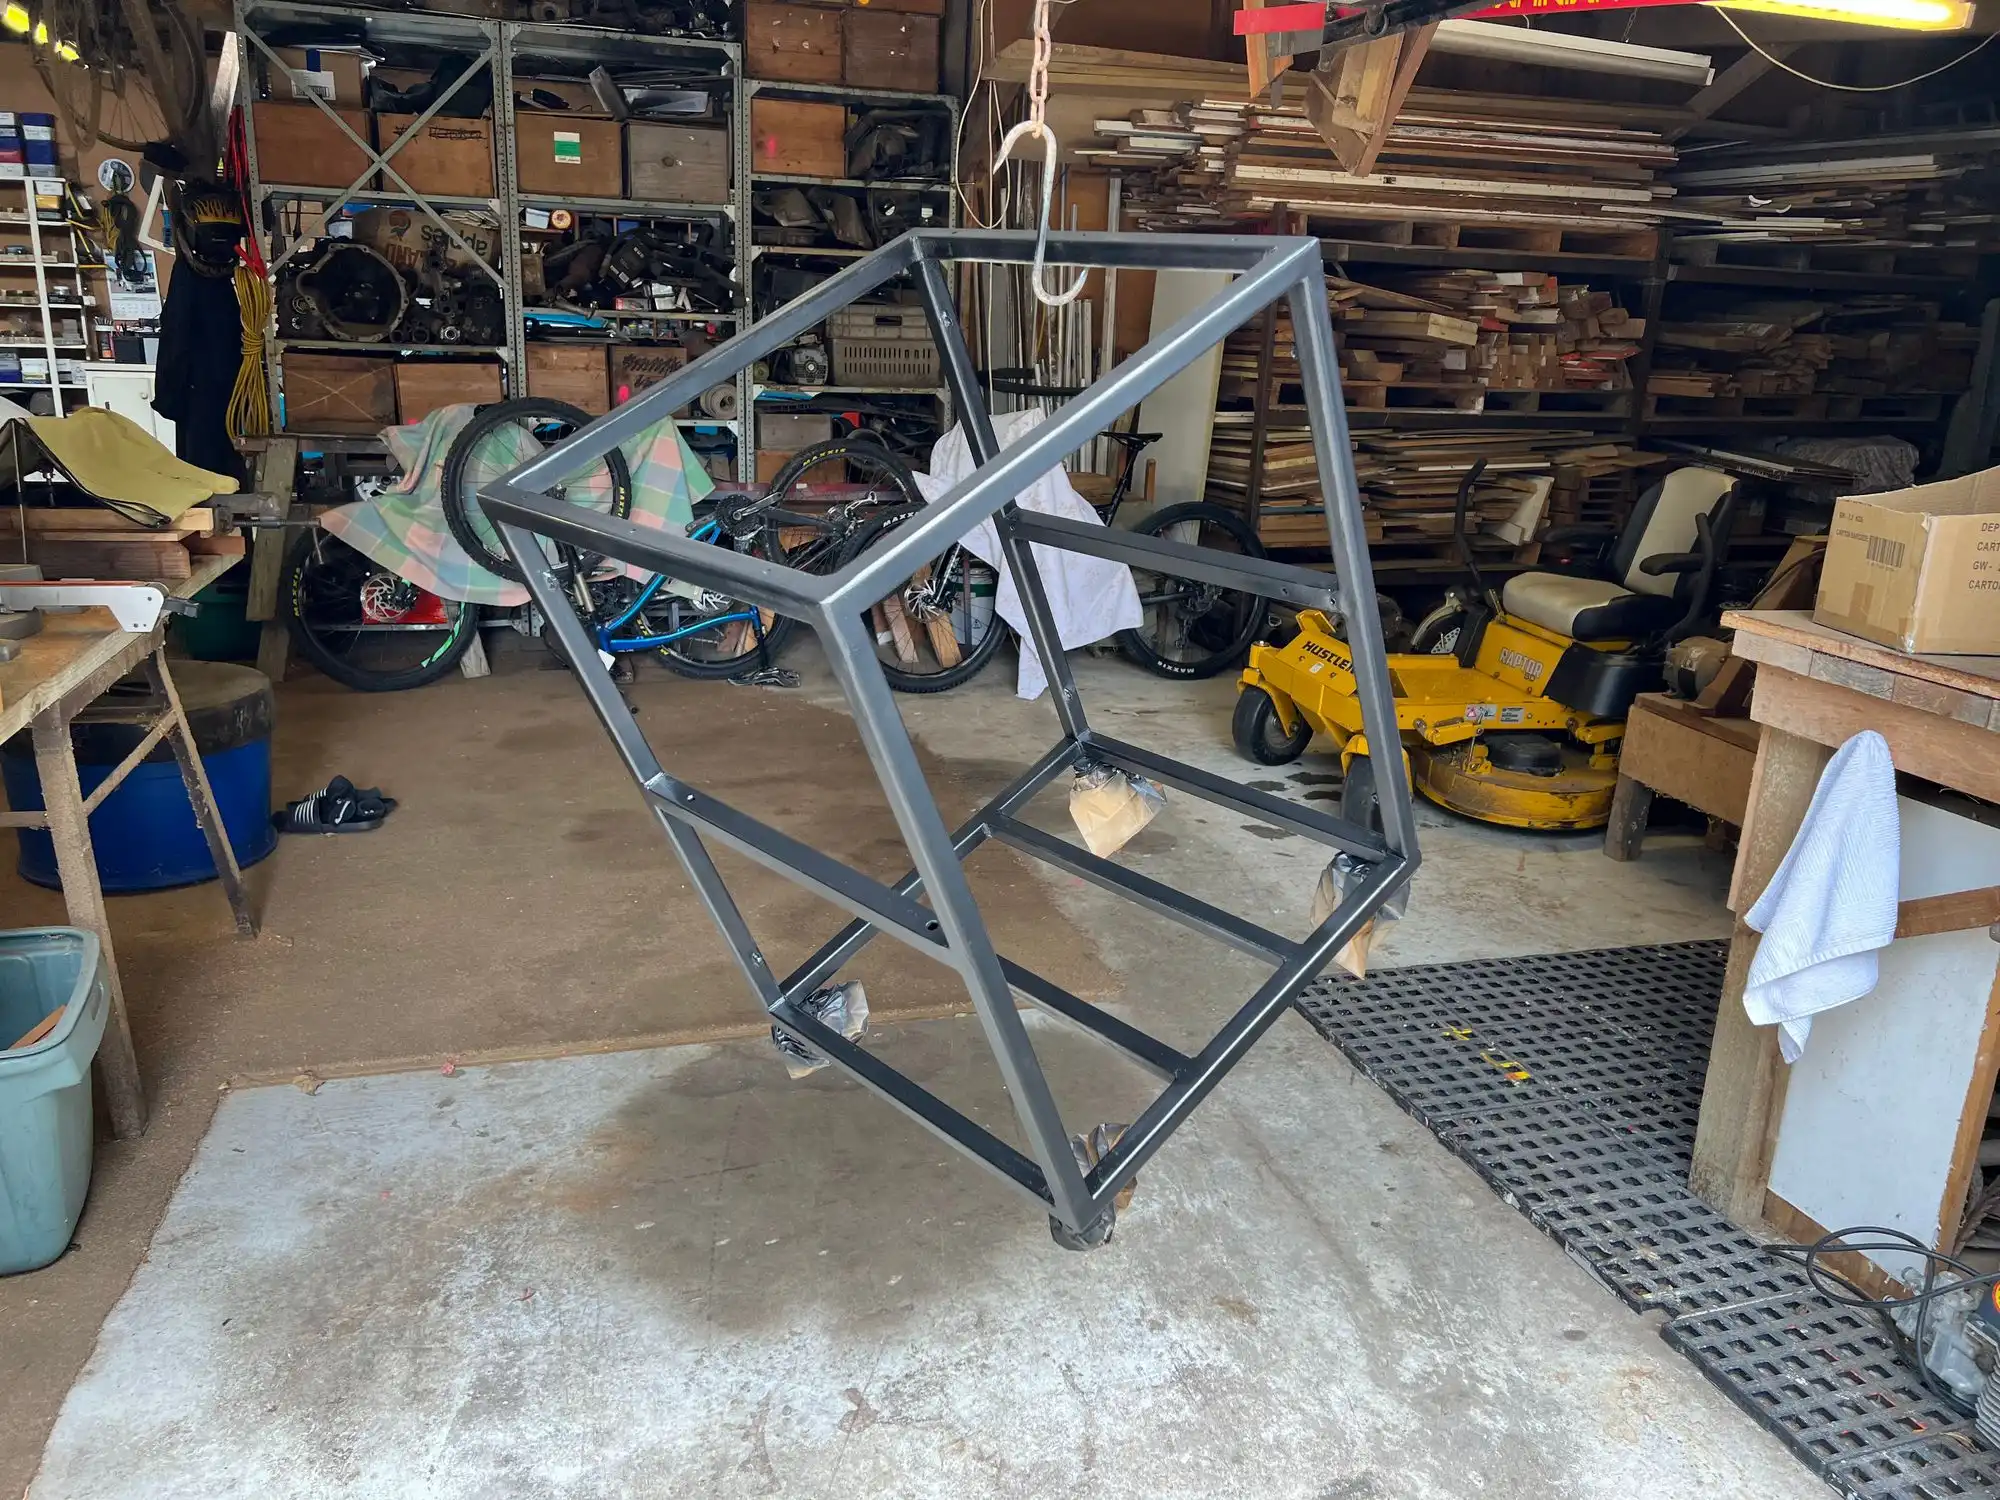
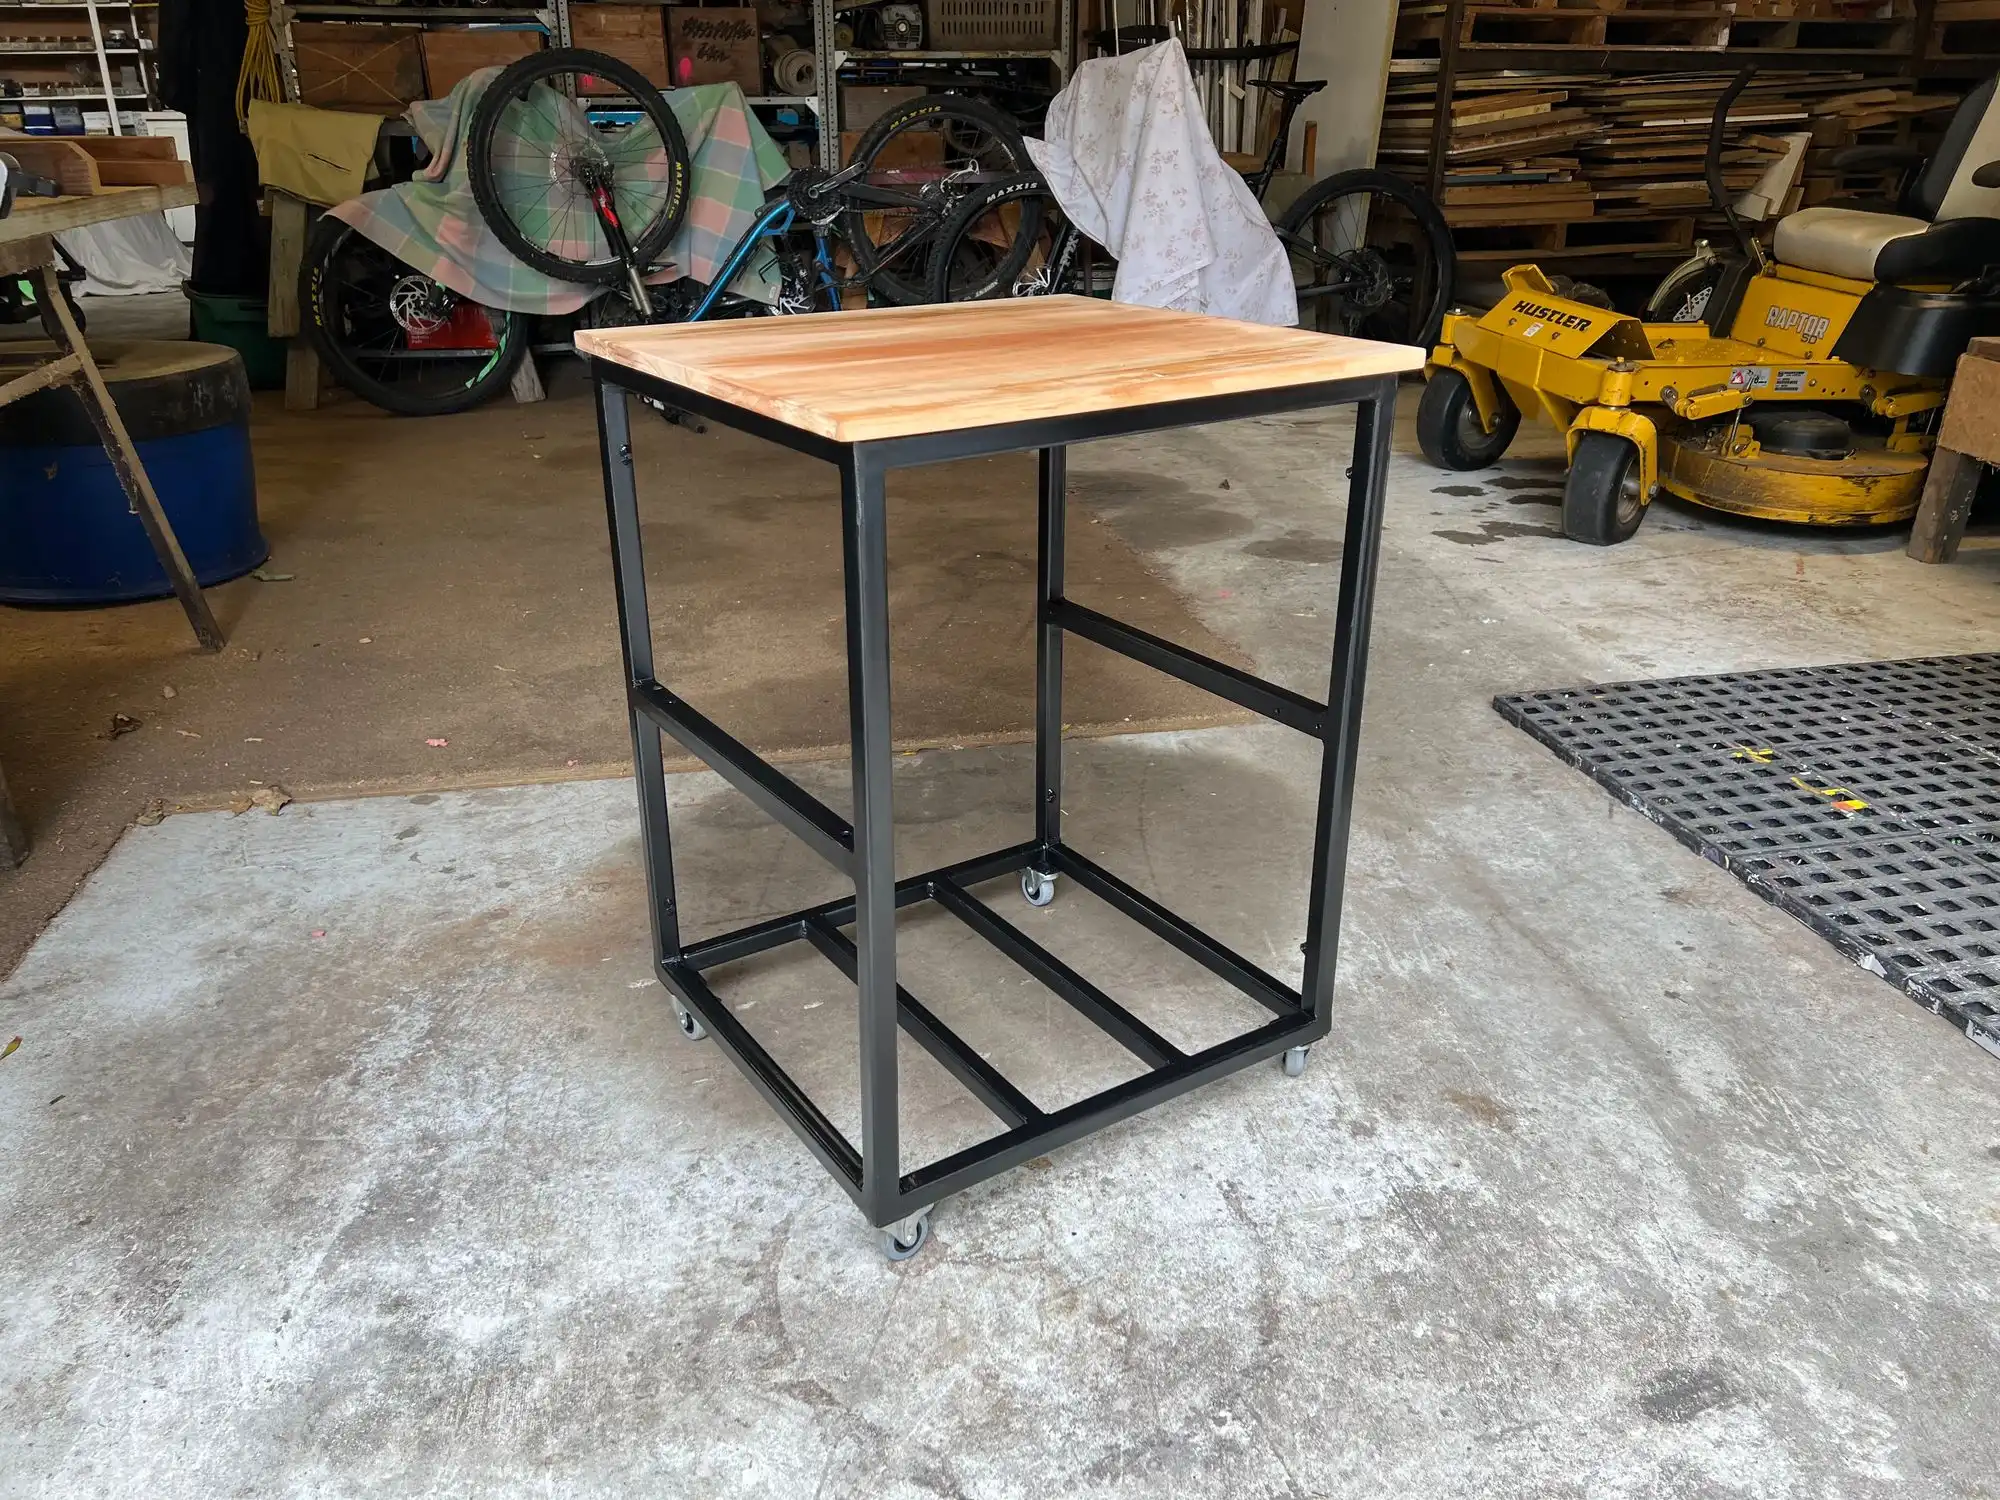
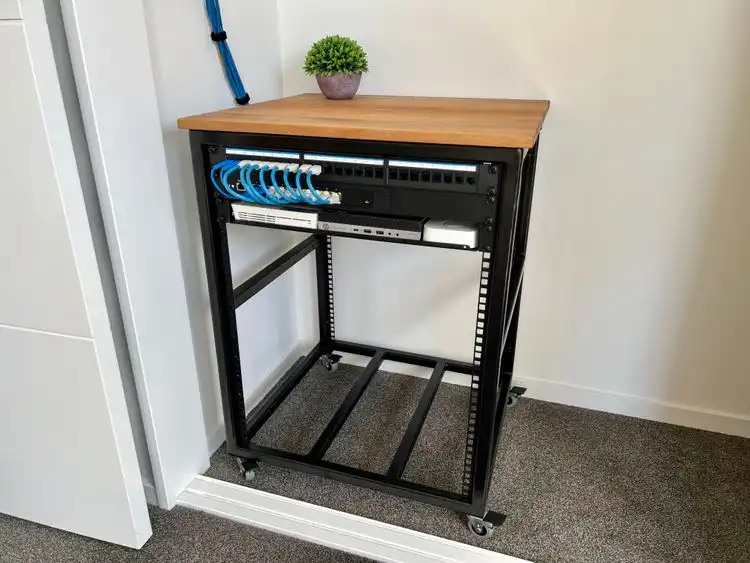
Finished Rack#
Here’s the rack finished with all of my gear installed:
Only the top 3U are populated currently, leaving heaps of room for more equipment in the future.
What did it cost?#
Obviously, this works out a lot more expensive if you have to source your own timber and steel. But here is the breakdown of costs for the build:
| Material | Cost (NZD) |
|---|---|
| Rack strips | $52.34 |
| Castors | $67.80 |
| Paint | $27.32 |
| Timber | $0.00 |
| Steel | $0.00 |
| TOTAL | $147.46 |
Compared to the rack I originally ordered, this worked out to be almost $100 cheaper.